
Wherehouse communicates with Vend through their REST API. You generate a unique
Personal Token for Wherehouse. Below we guide you through authorising Wherehouse to connect with your Vend account.Steps on Wherehouse 👨💻
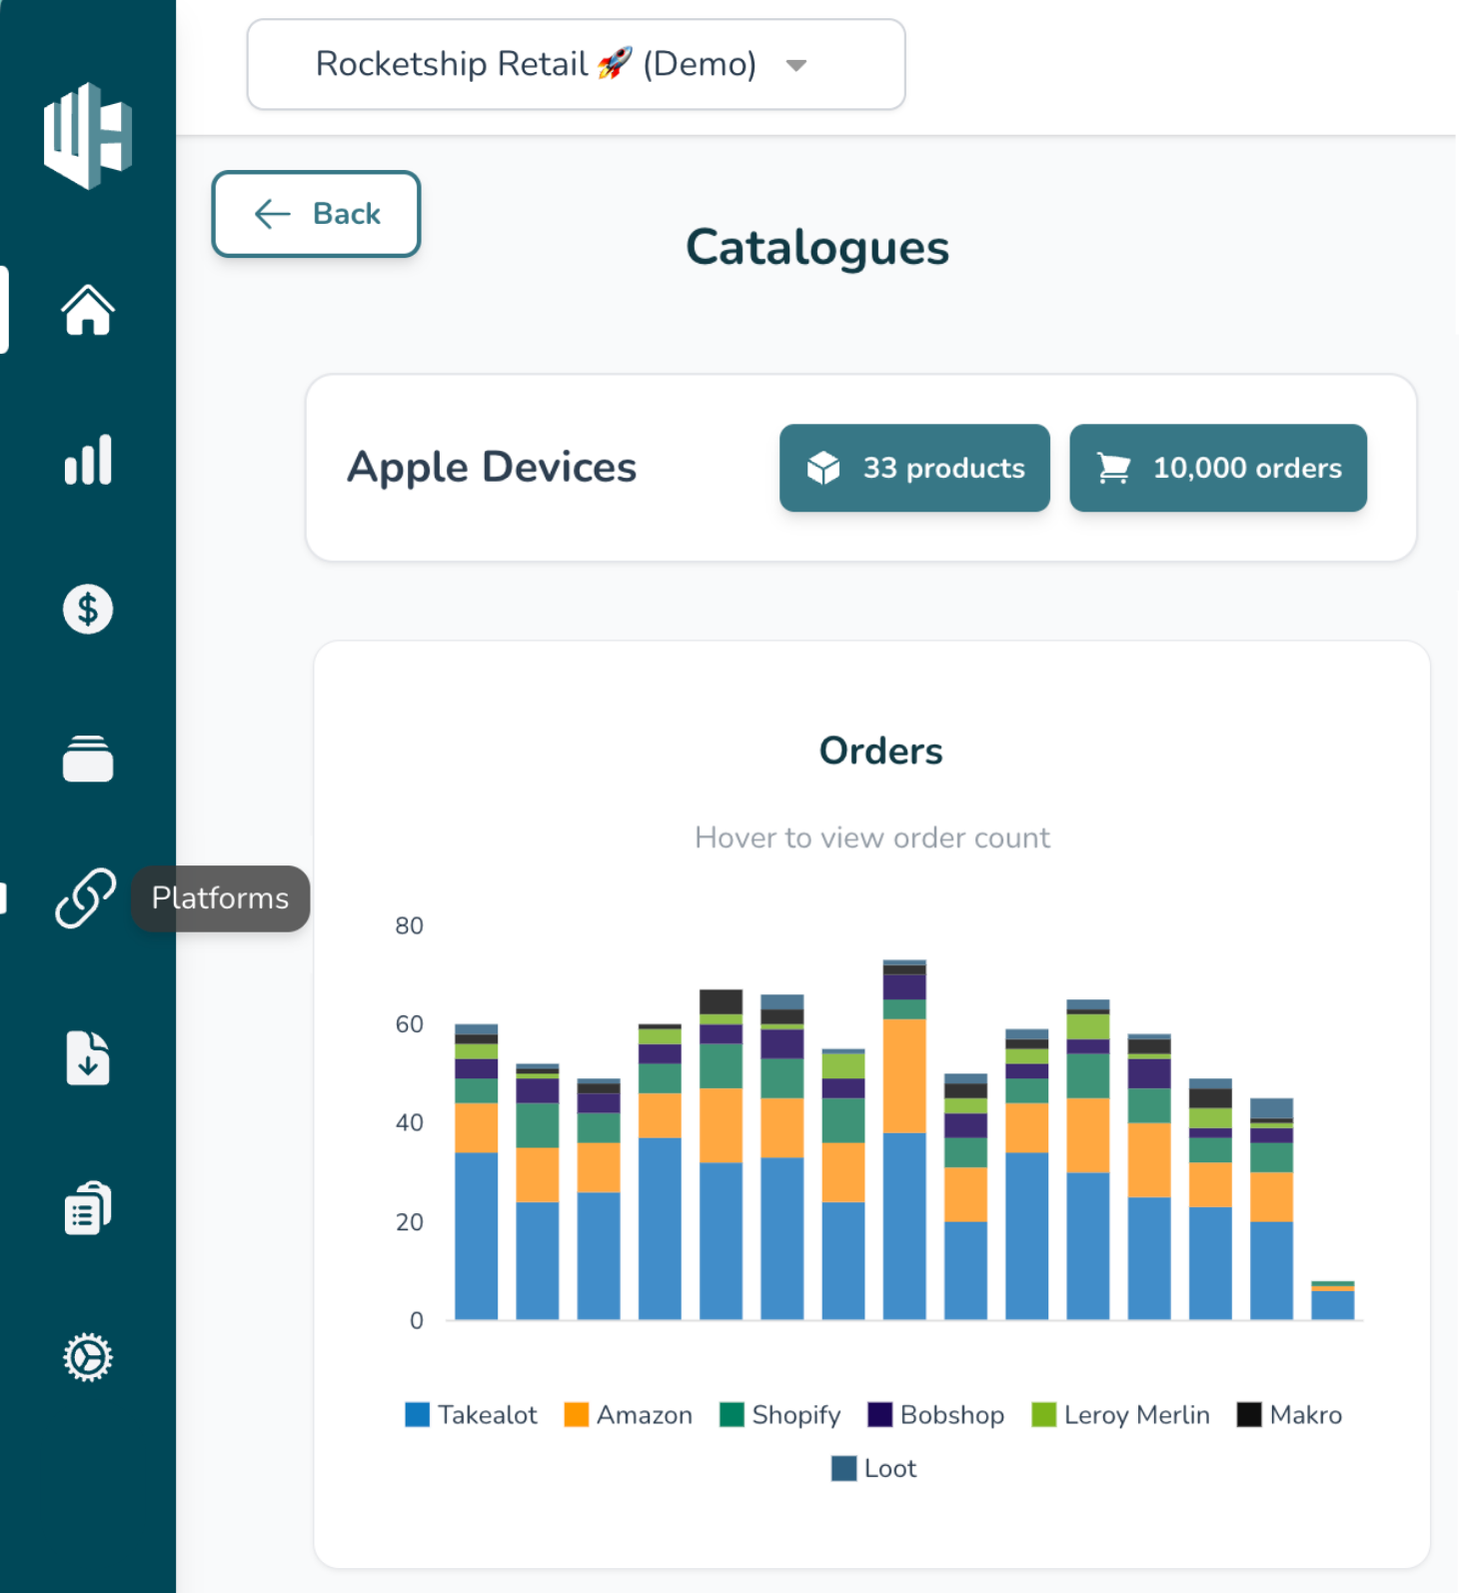
1️⃣ On the Wherehouse dashboard, within the subscription you’d like to authorize, select Platforms from the sidebar.
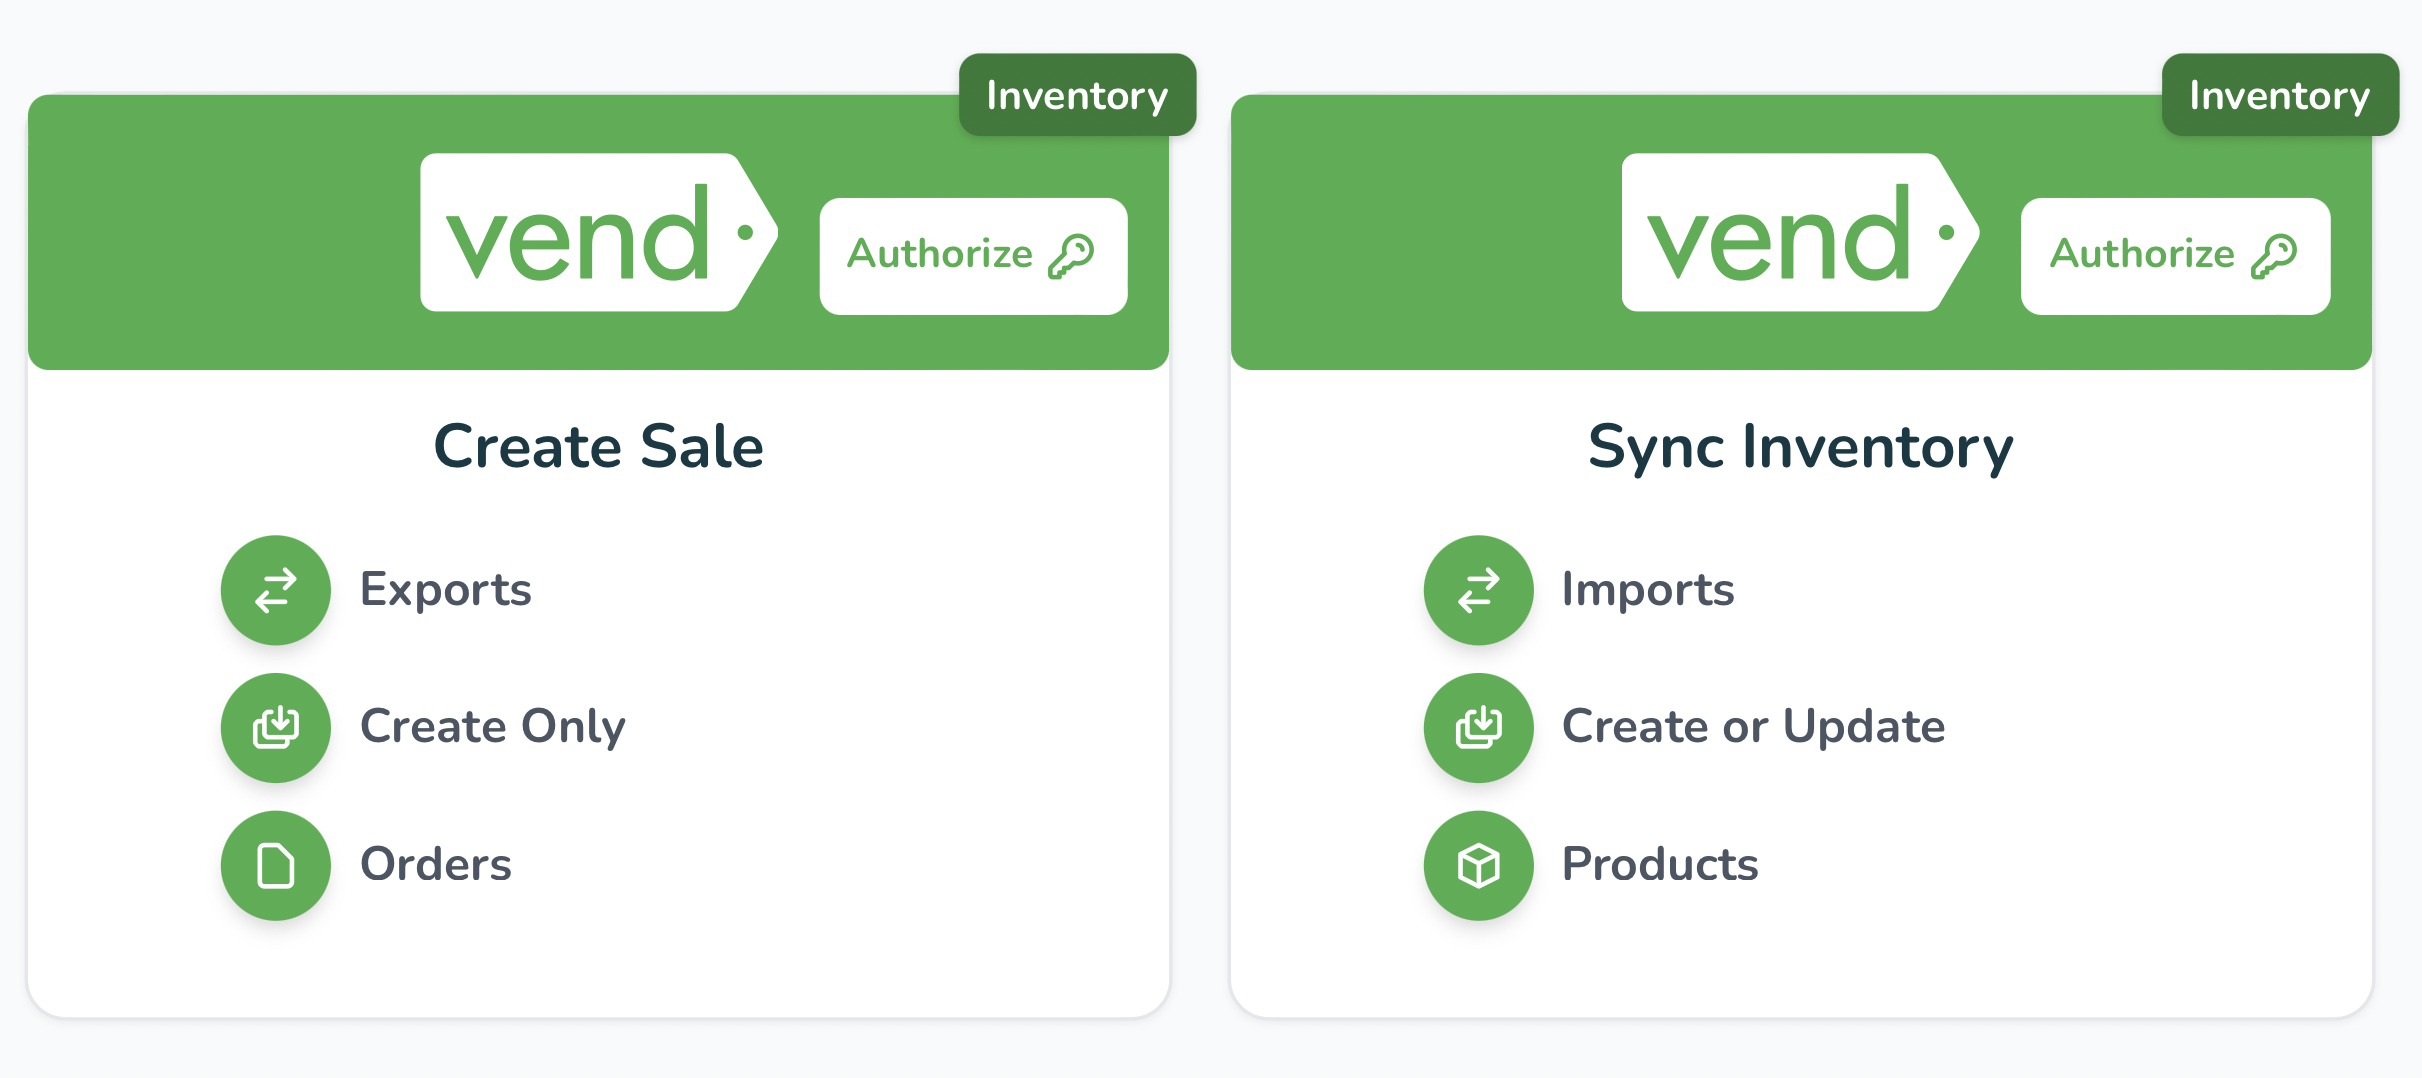
2️⃣ Look for the Vend connector(s).
Each account may have multiple depending on the specific requirement, repeat the steps for each.
3️⃣ Click Authorize.
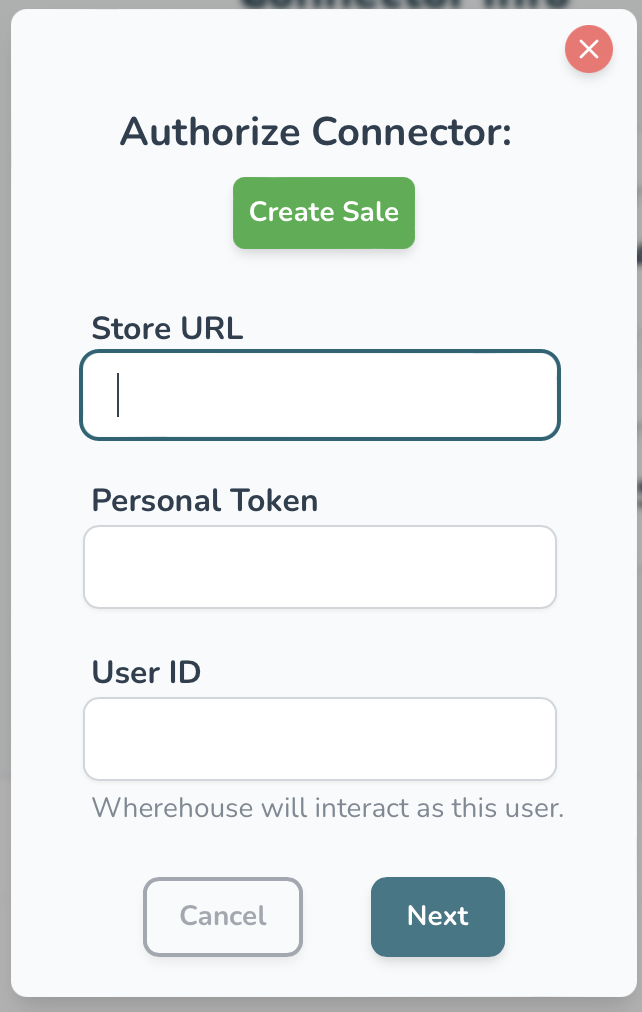
This will take you to a modal asking for the following:
Store URLPersonal TokenUser IDMore on how to find these below.
Finding required info on Vend 🔎
Store URL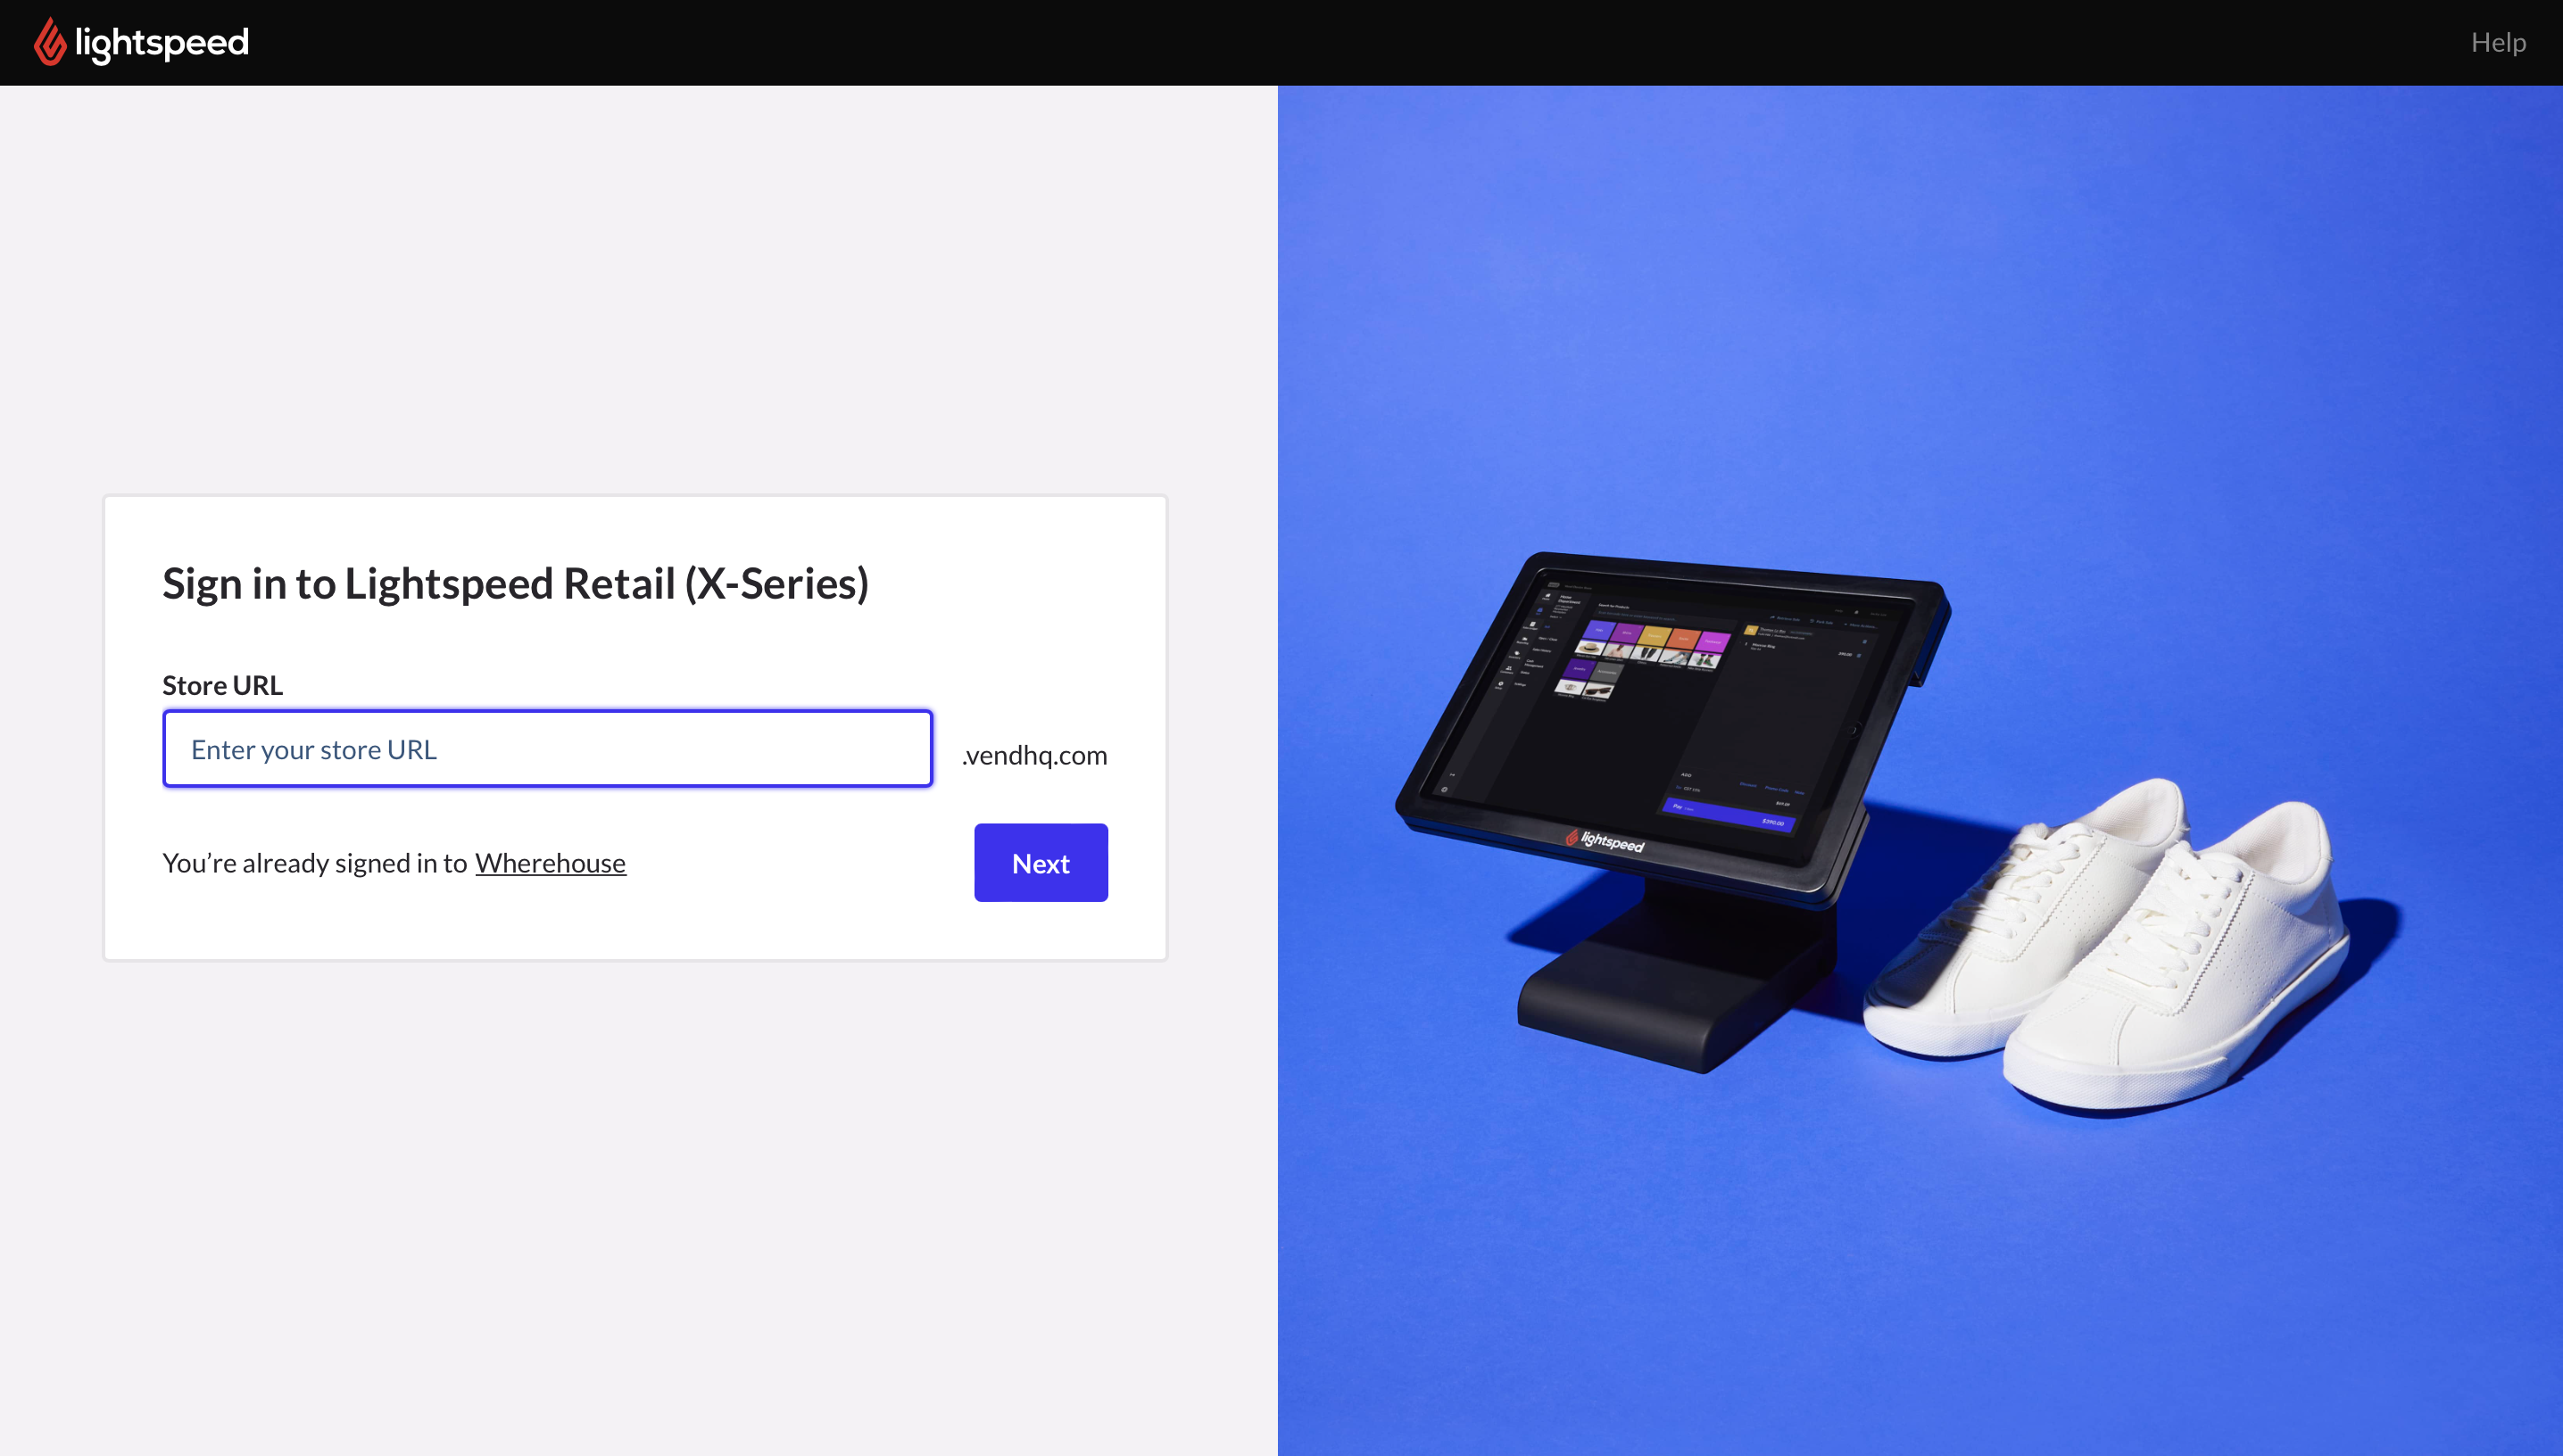
Your
Store URL is the prefix you type in on the login page of vend. Paste this on the Wherehouse dashboard.i.e. ONLY everything before the
.vendhq.comPersonal Token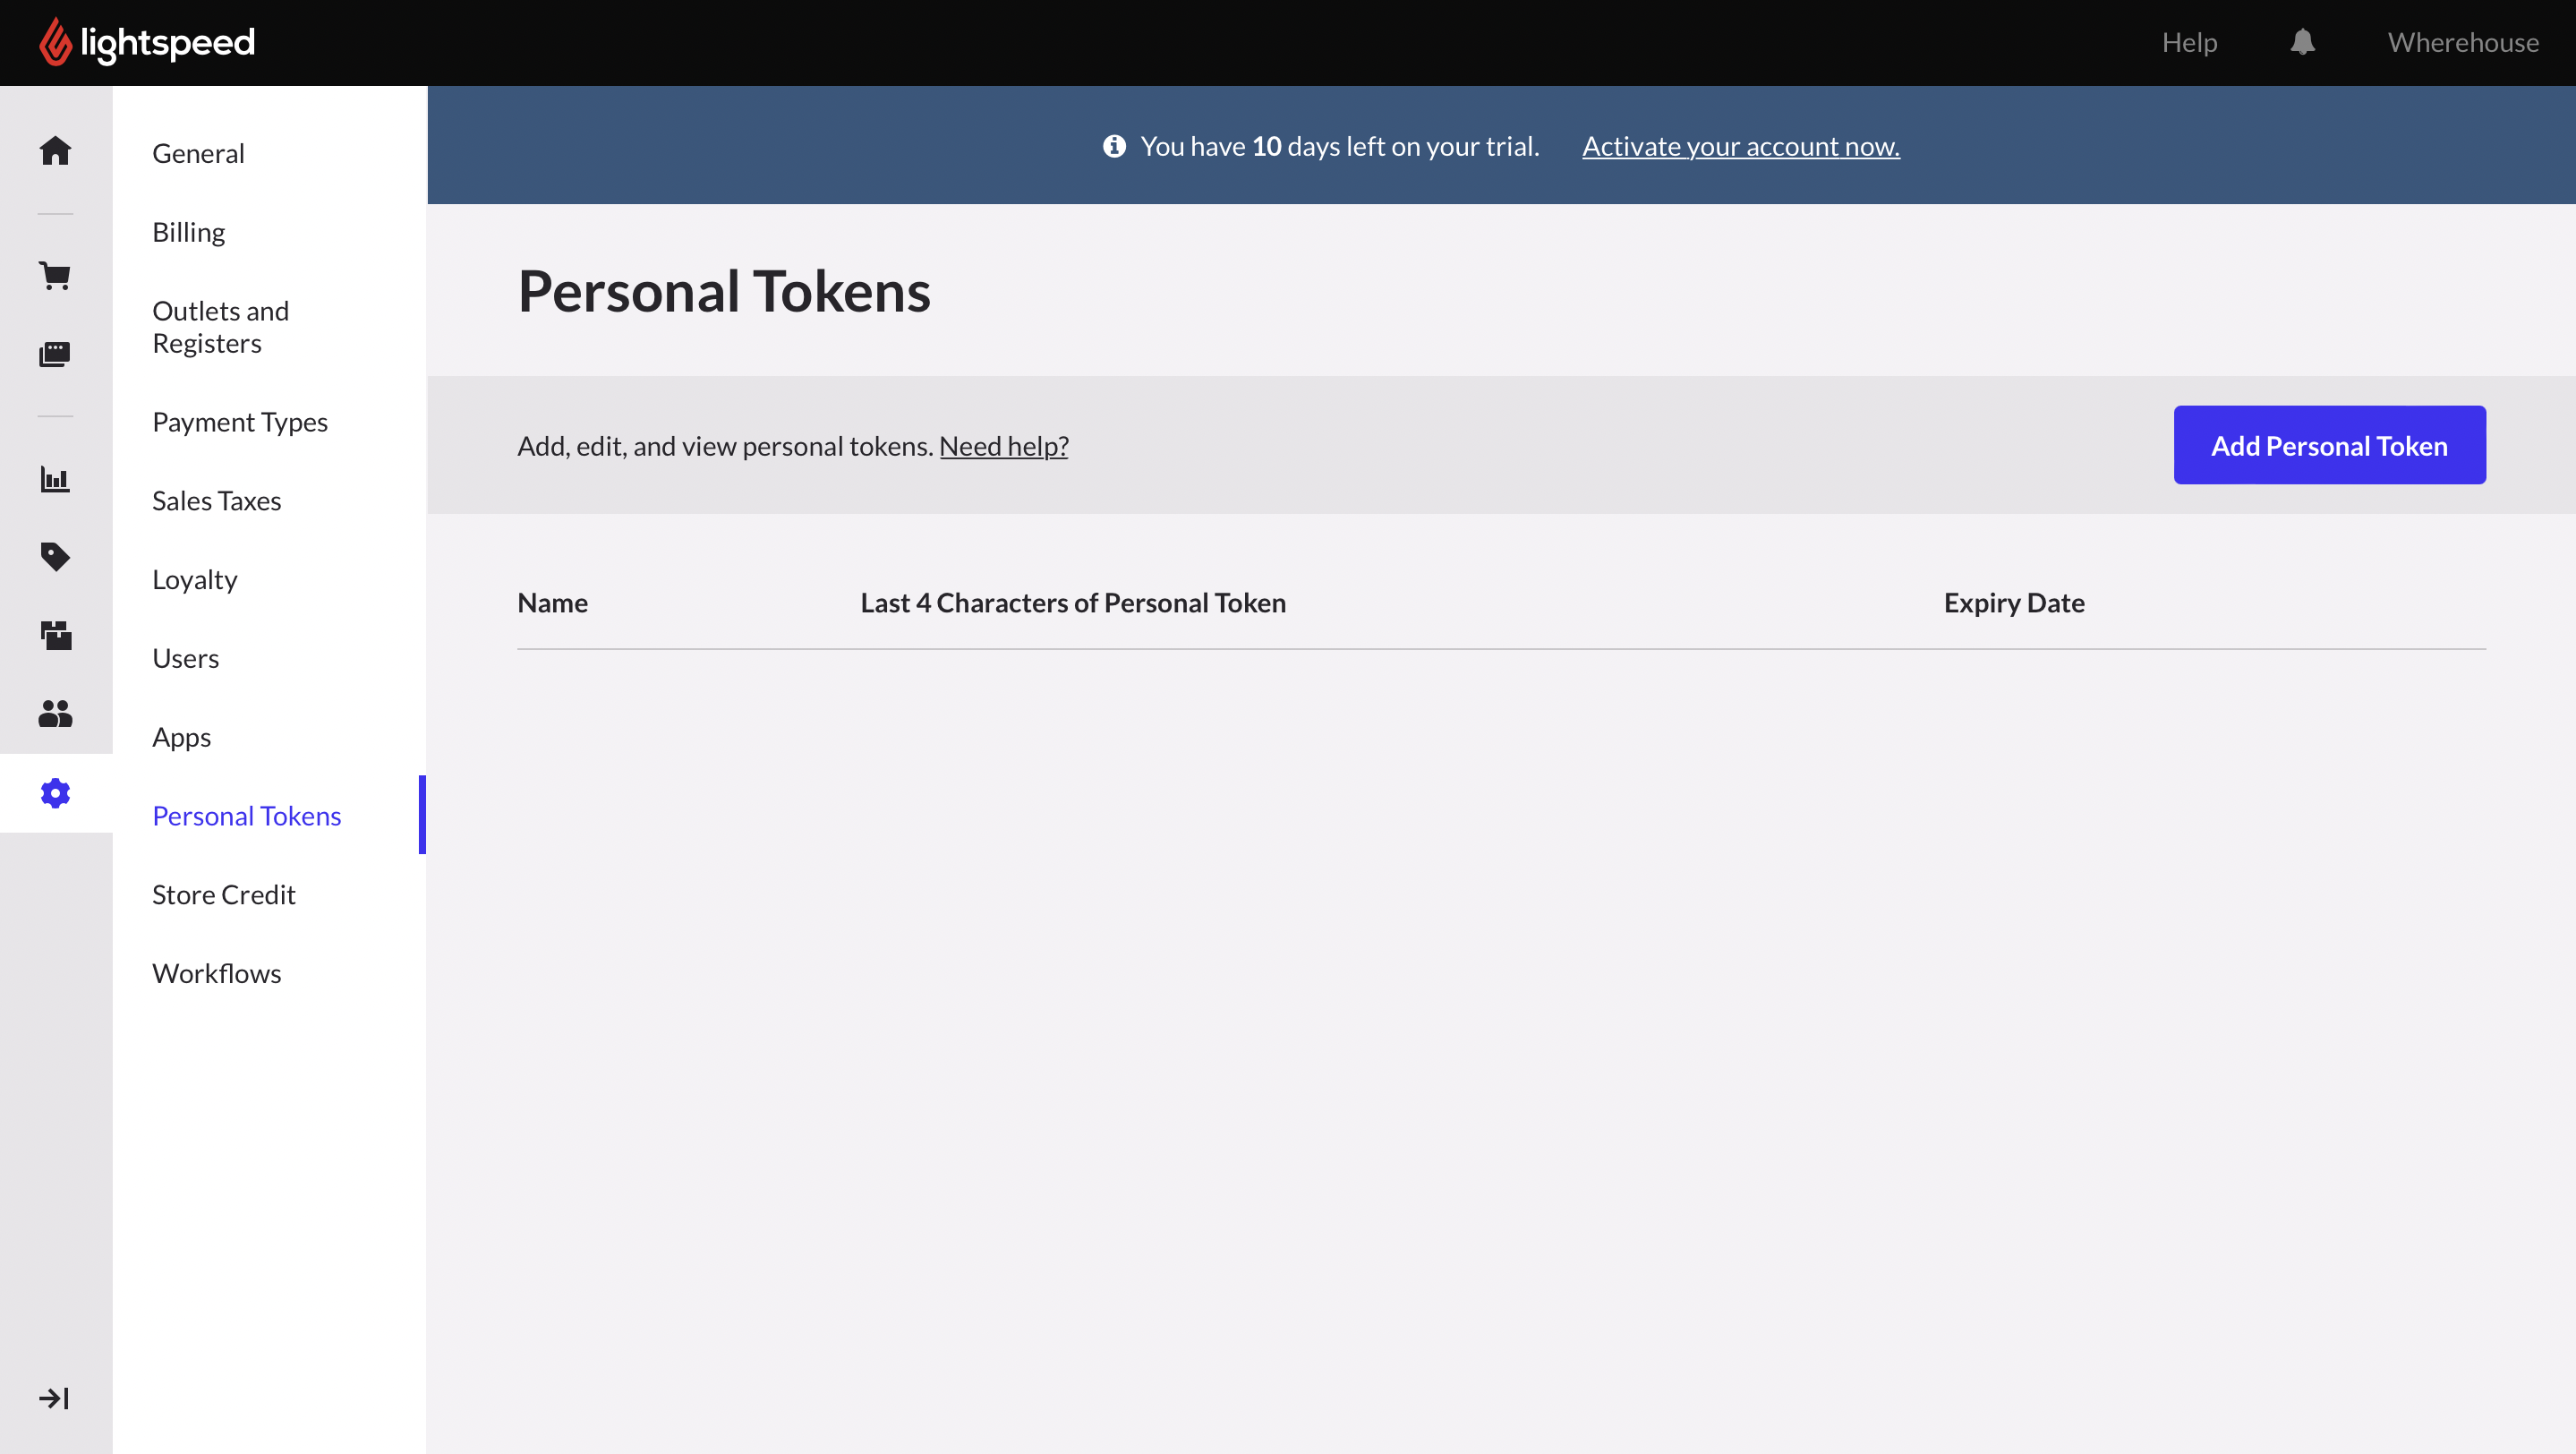
1️⃣ When signed in on your Vend dashboard, click the Settings icon (Bottom left 😉)
2️⃣ Select Personal Tokens
3️⃣ Hit Add Personal Token
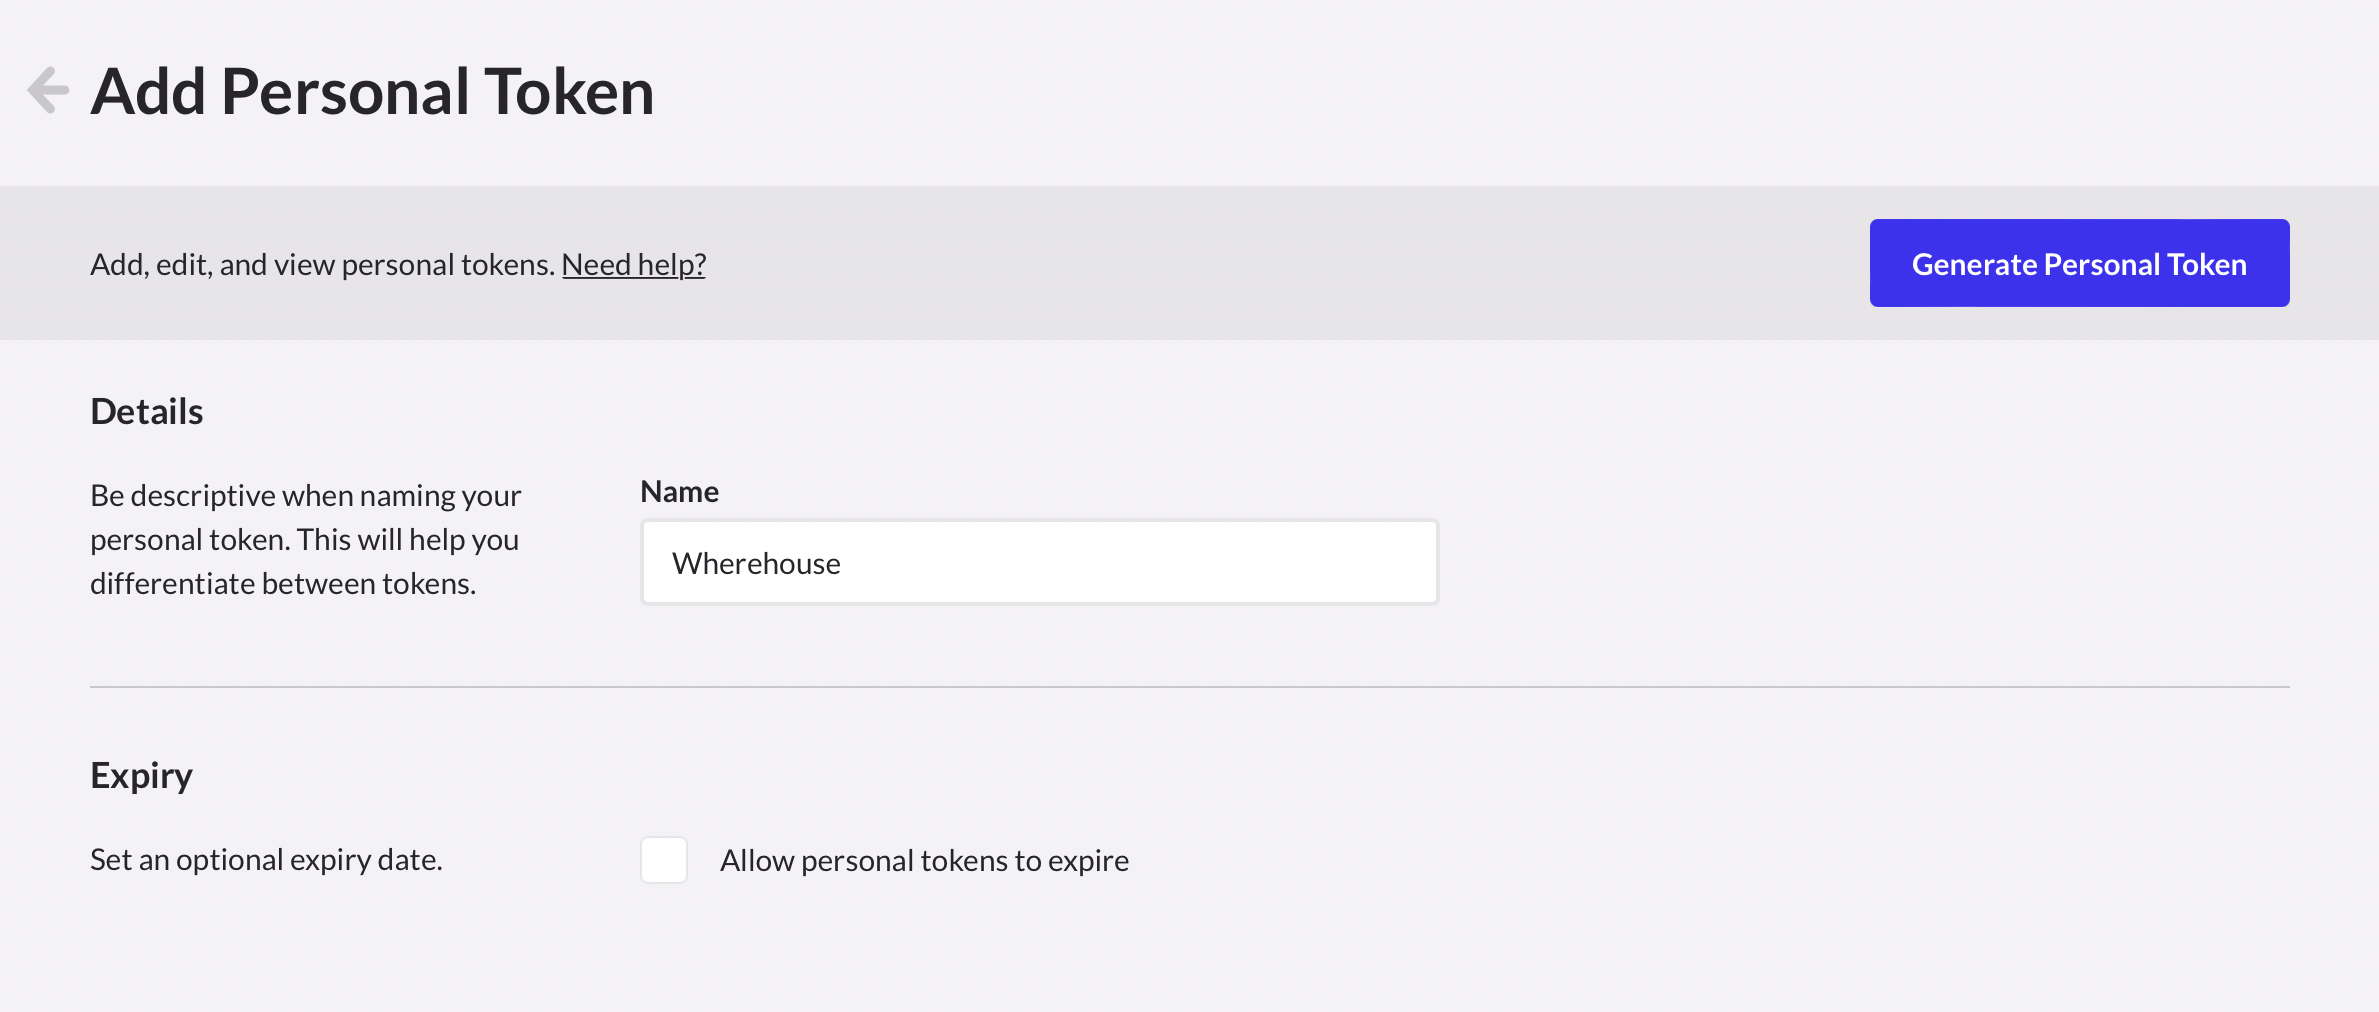
4️⃣ Enter
Wherehouse as the Token nameBe sure to untick the expiry date tickbox, you wouldn’t want to regenerate the token every time it expires…
5️⃣ Click Generate Personal Token
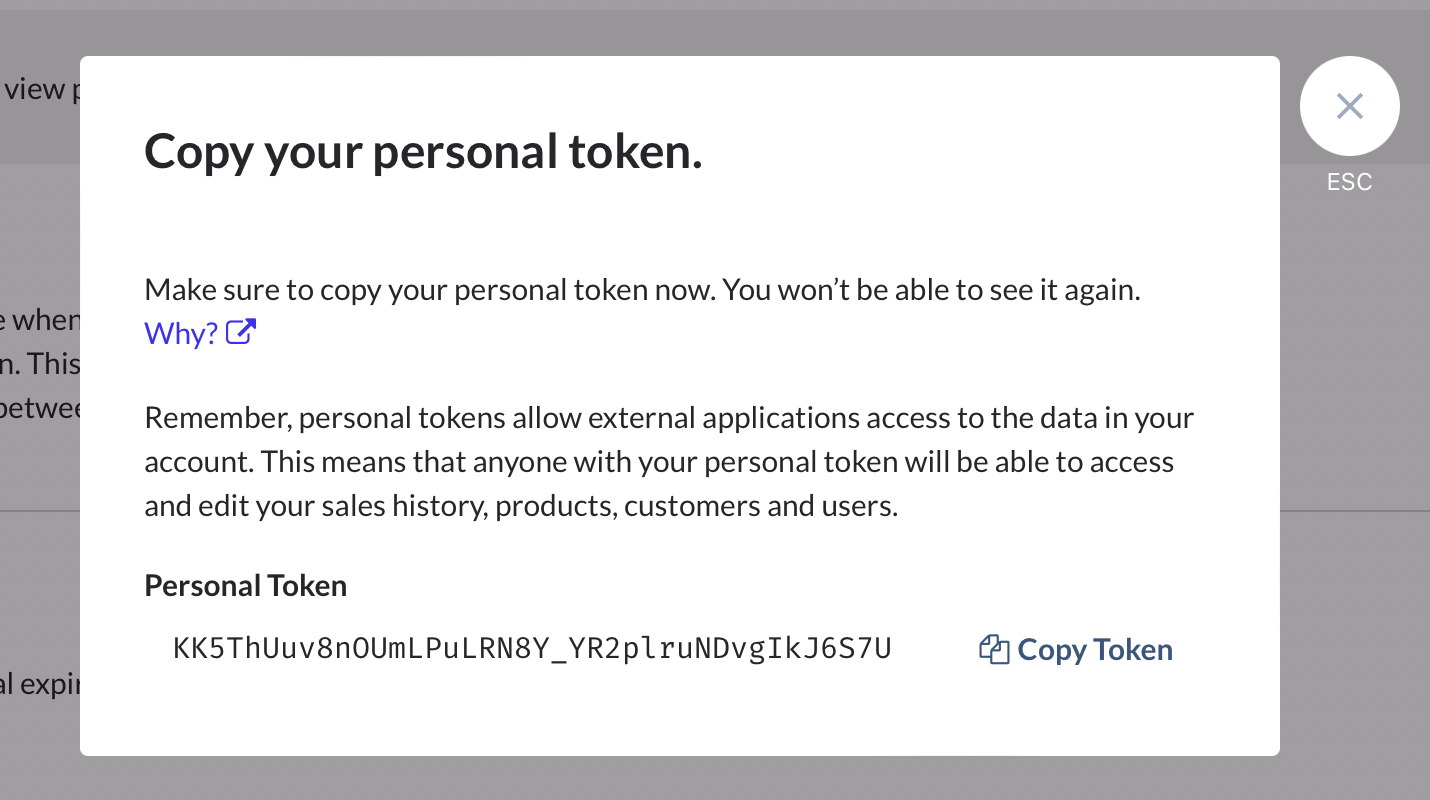
6️⃣ Hit the Copy Token button and paste it into the required space on the Wherehouse dashboard.
User ID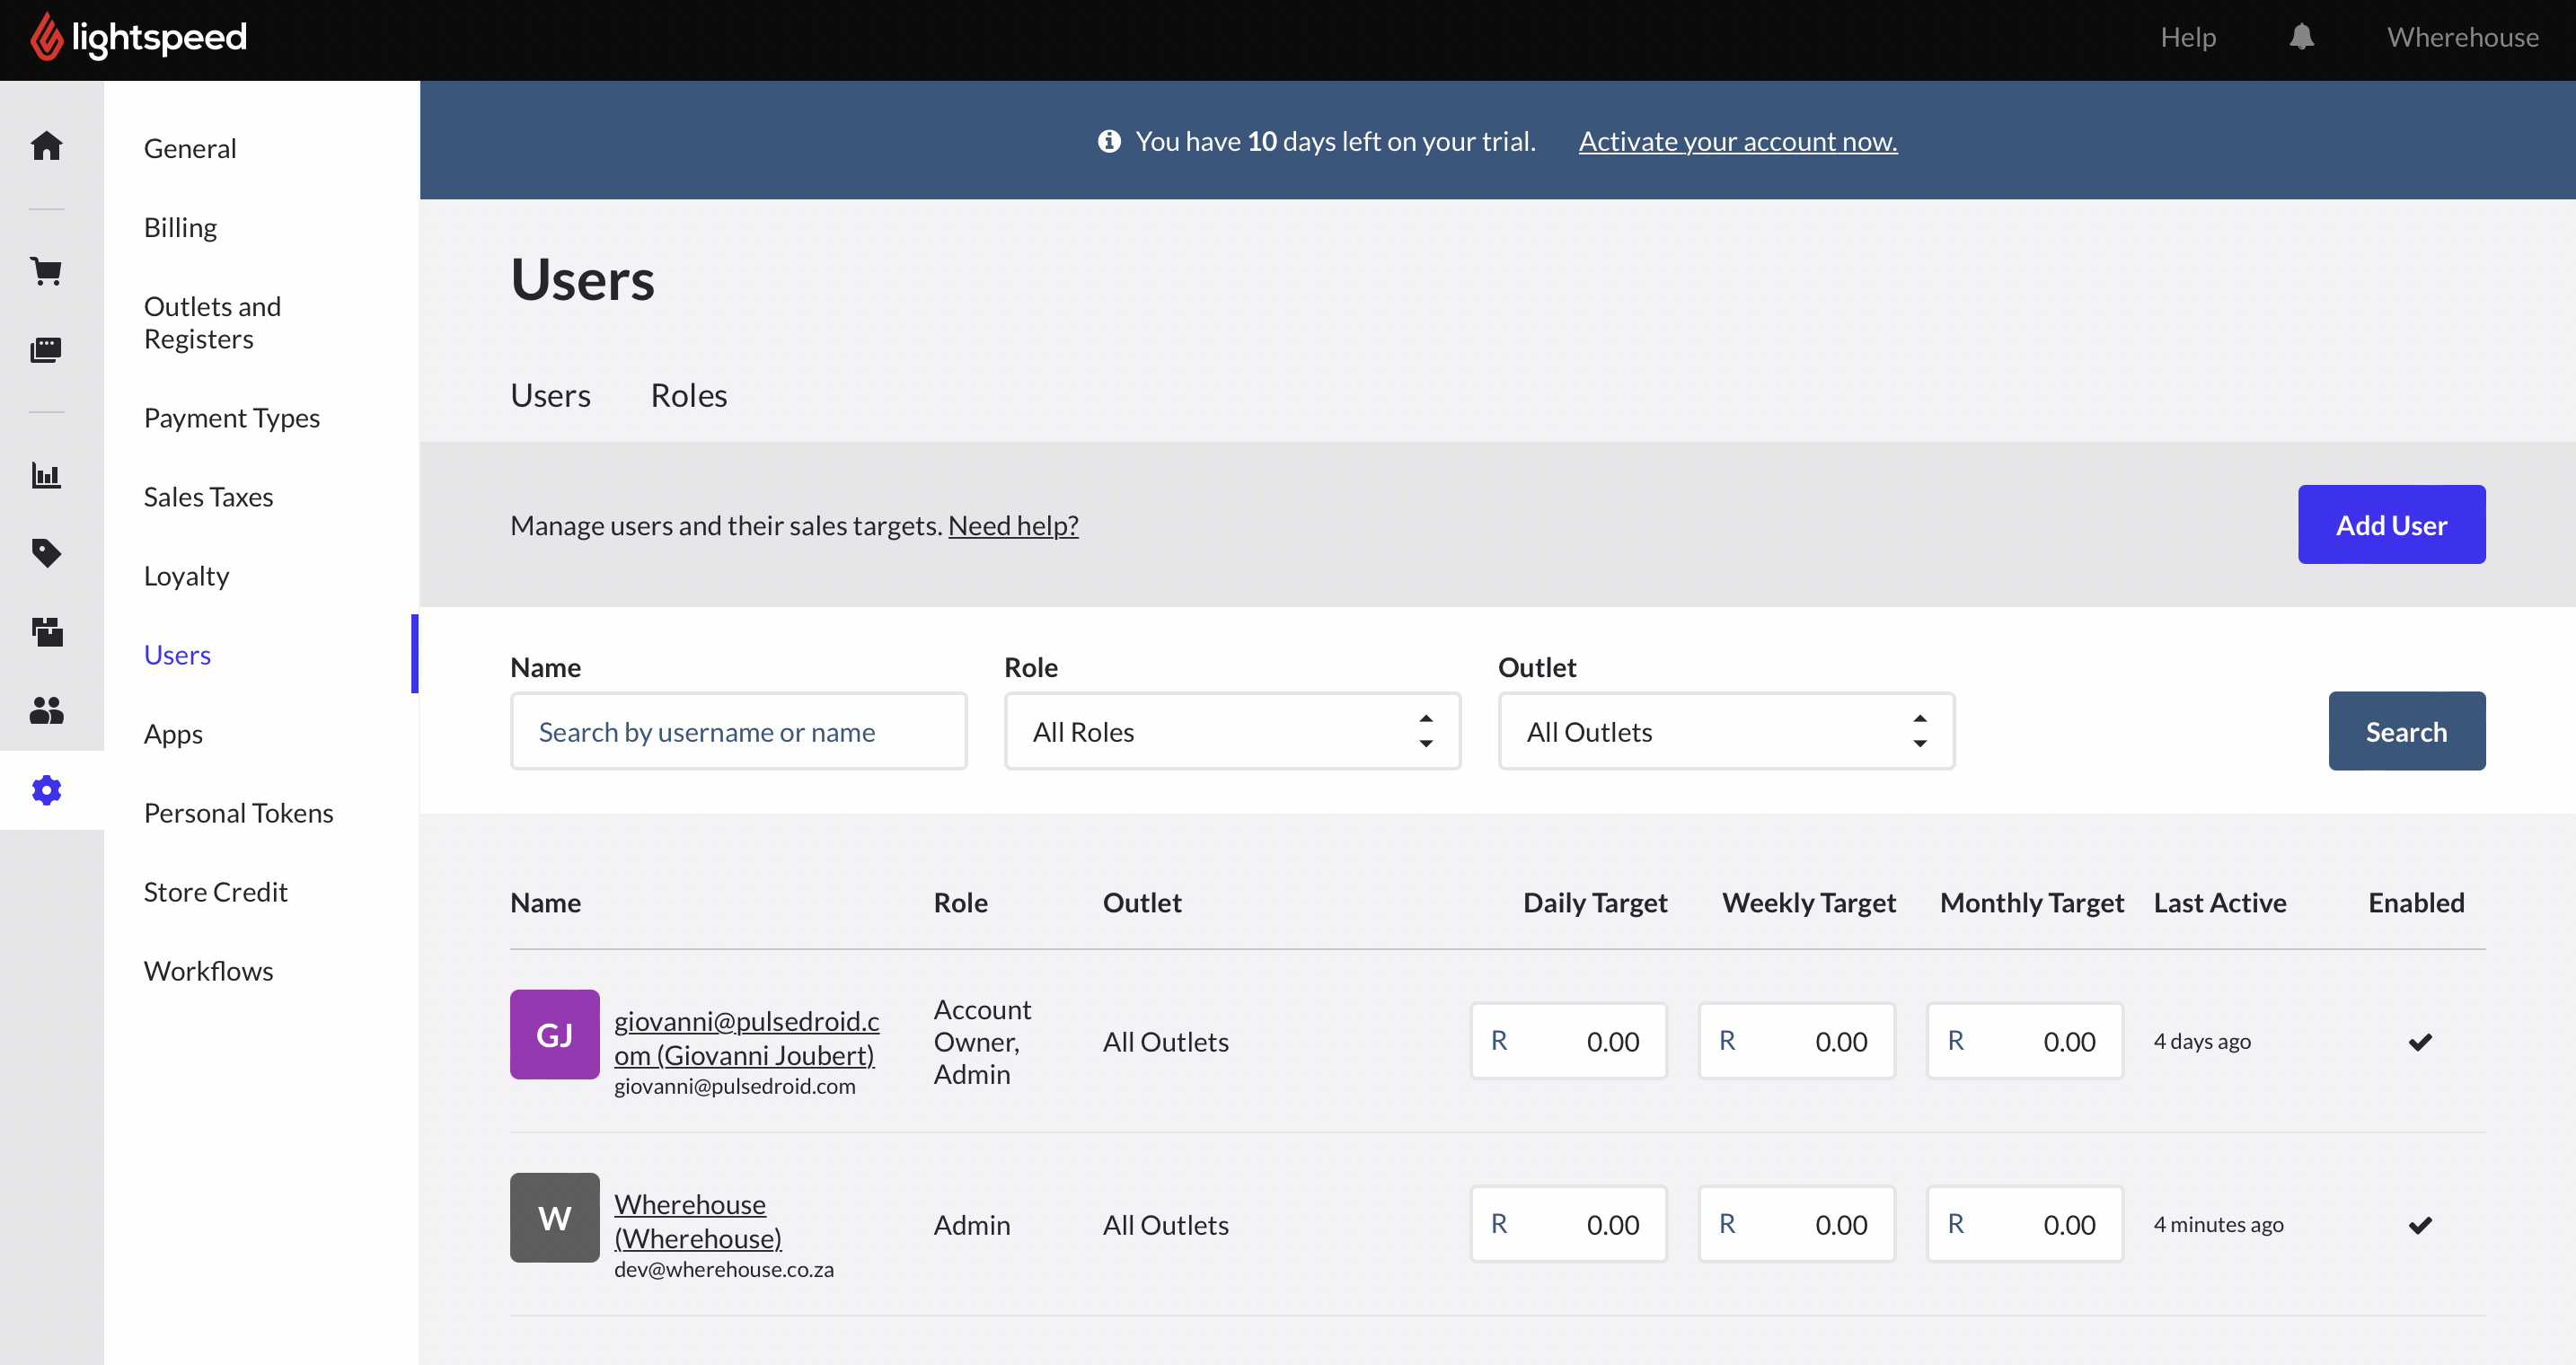
1️⃣ In the settings tab select Users.
You need to create a user profile for Wherehouse, we will interact with your Vend account as this user.
2️⃣ Select Add User
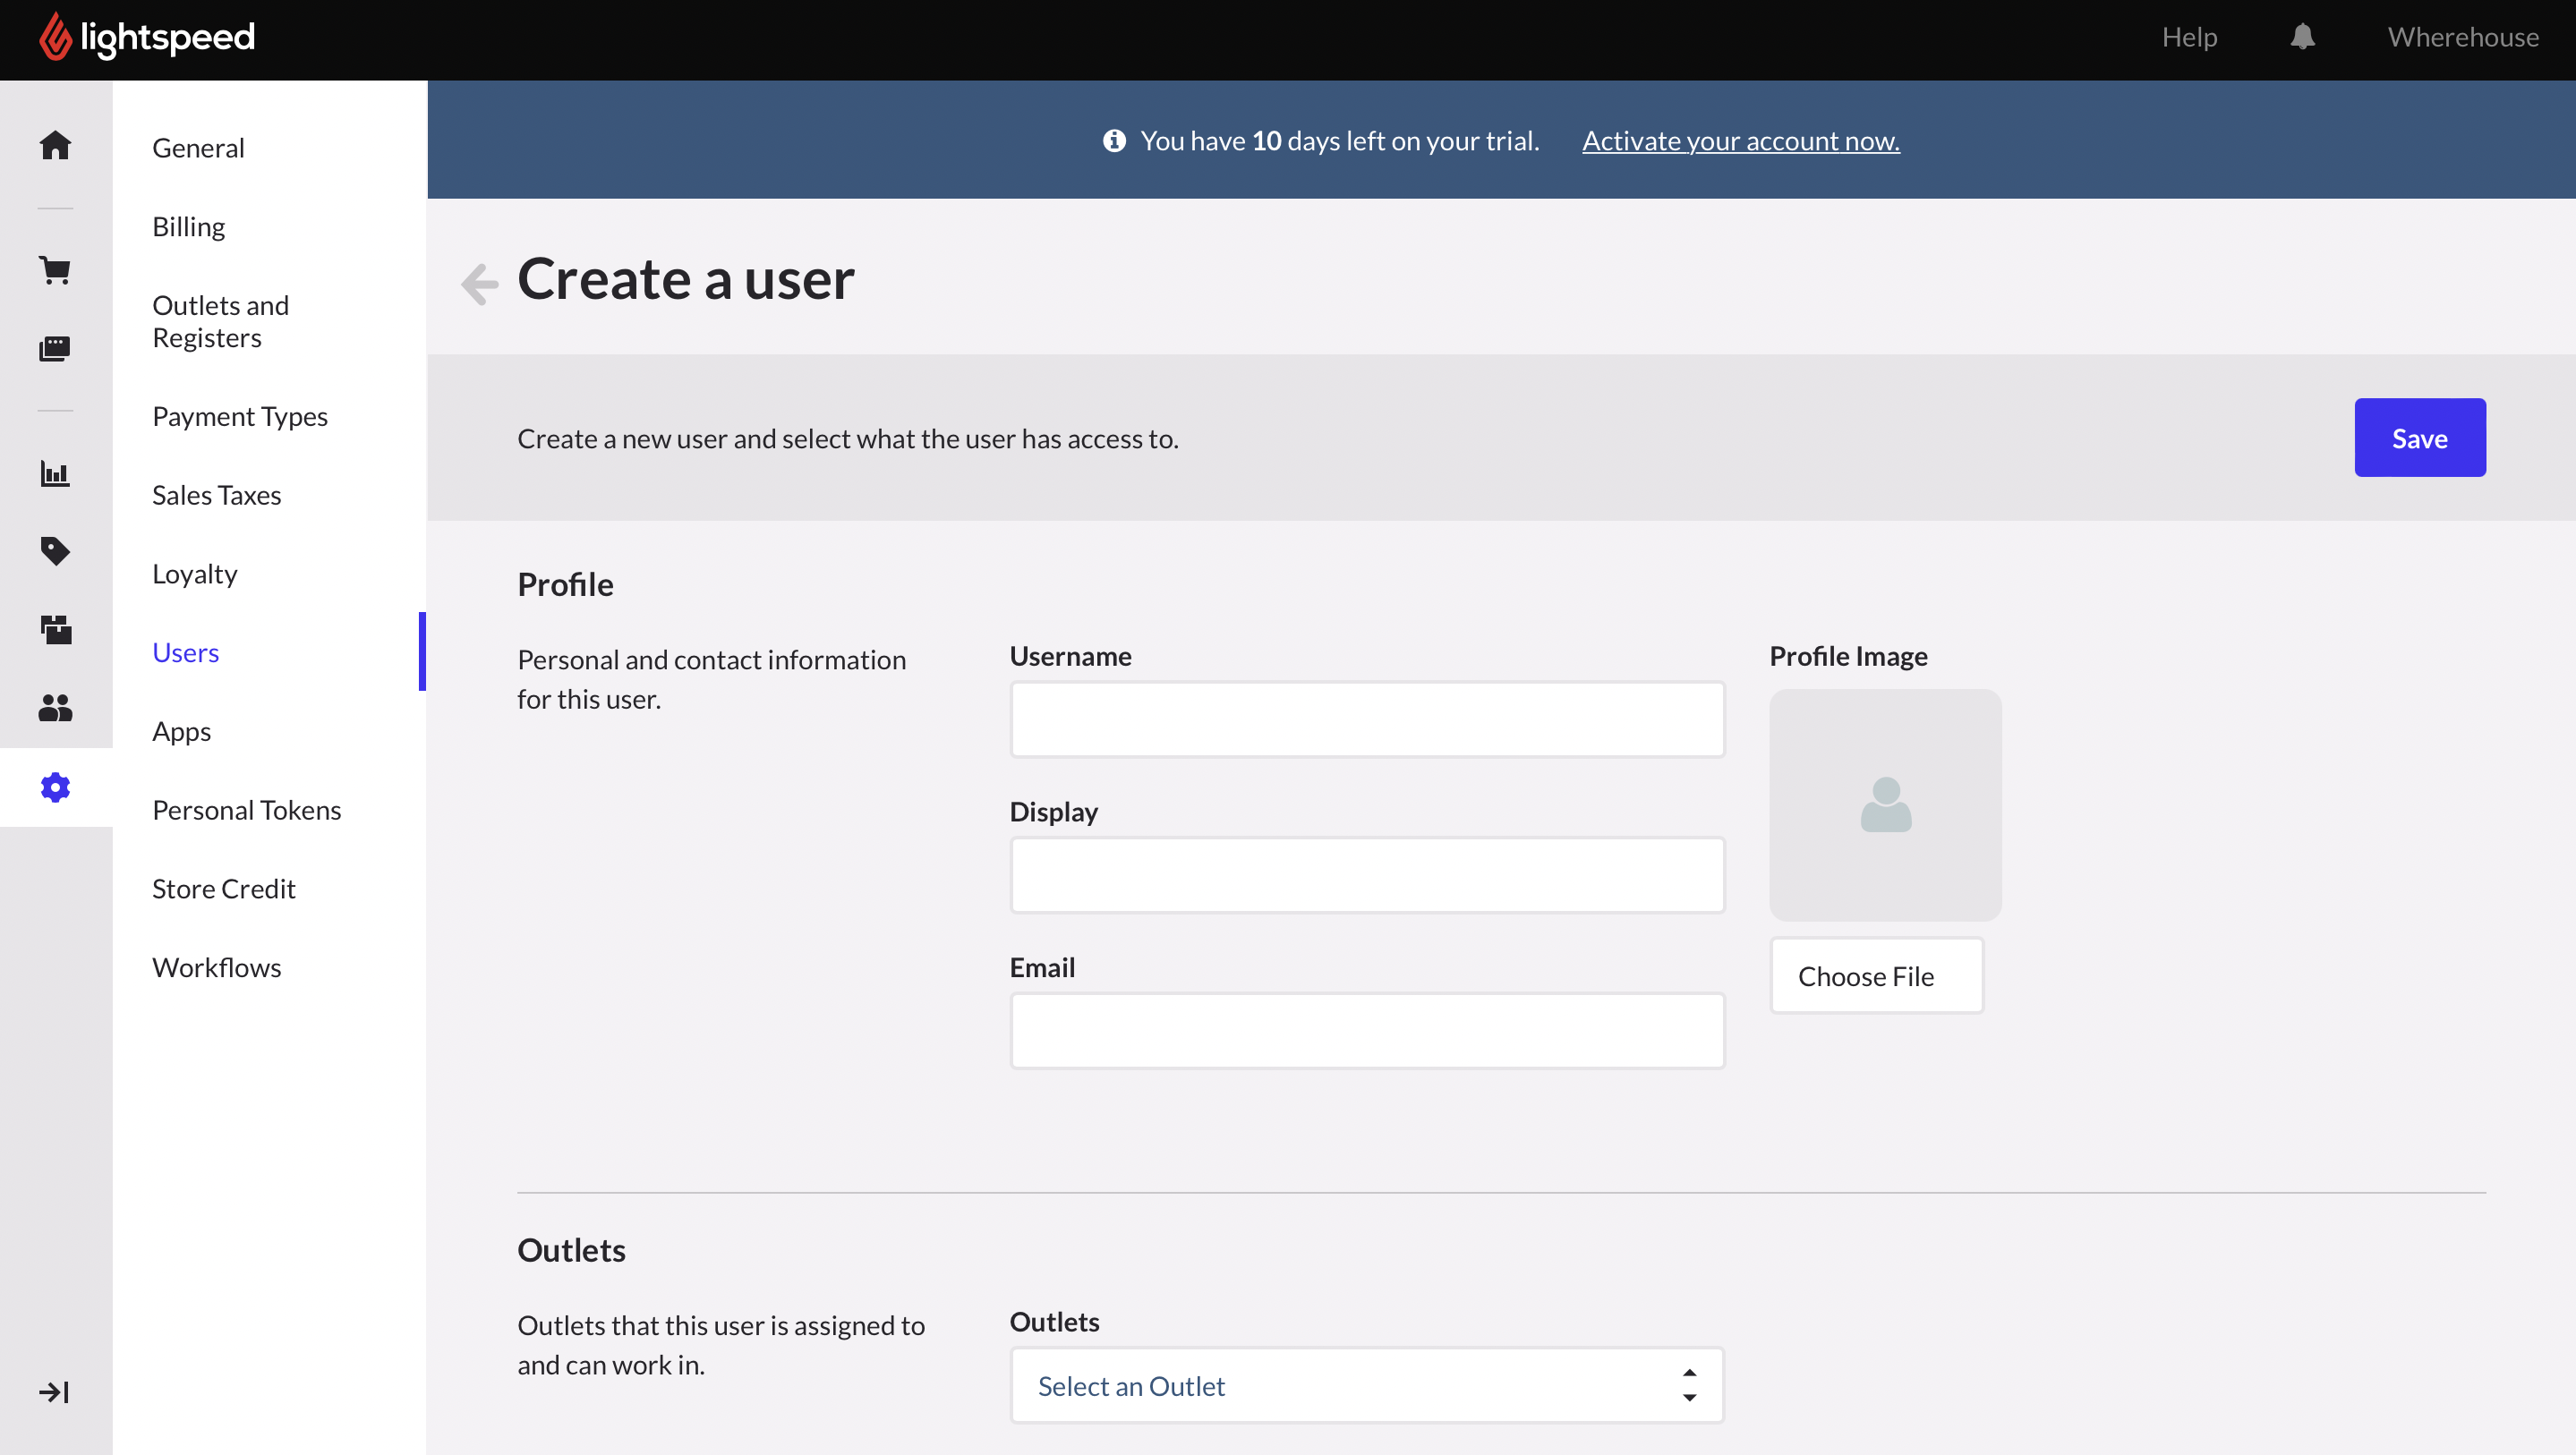
3️⃣ You can enter the following details:
Username -
WherehouseDisplay -
Wherehouse Email -
vend@wherehouse.co.za
No need for a profile image, but if you’re feeling a little extra you can add our logo.
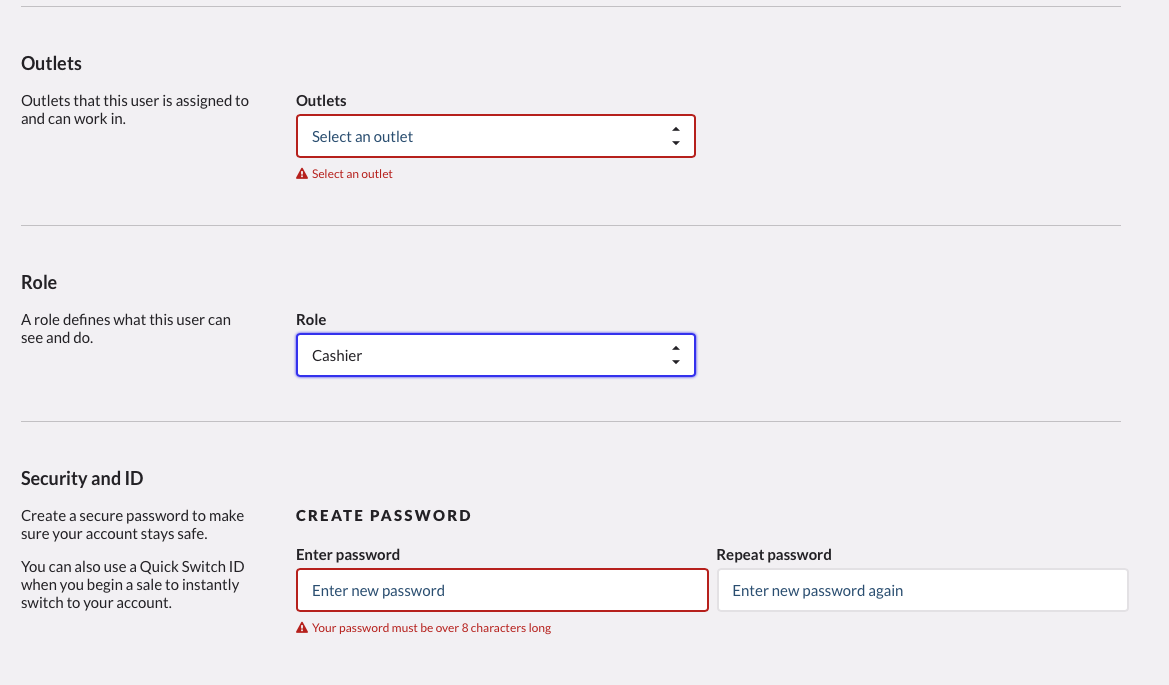
4️⃣ If you scroll down you’ll see some additional info needed for the user profile:
Outlets - Select the outlets Wherehouse should have access to.
Role - Select Cashier.
Security and ID - Create a password
Anything strong is fine. You don’t need to share it with us. We communicate with vend through the API.
5️⃣ Hit Save
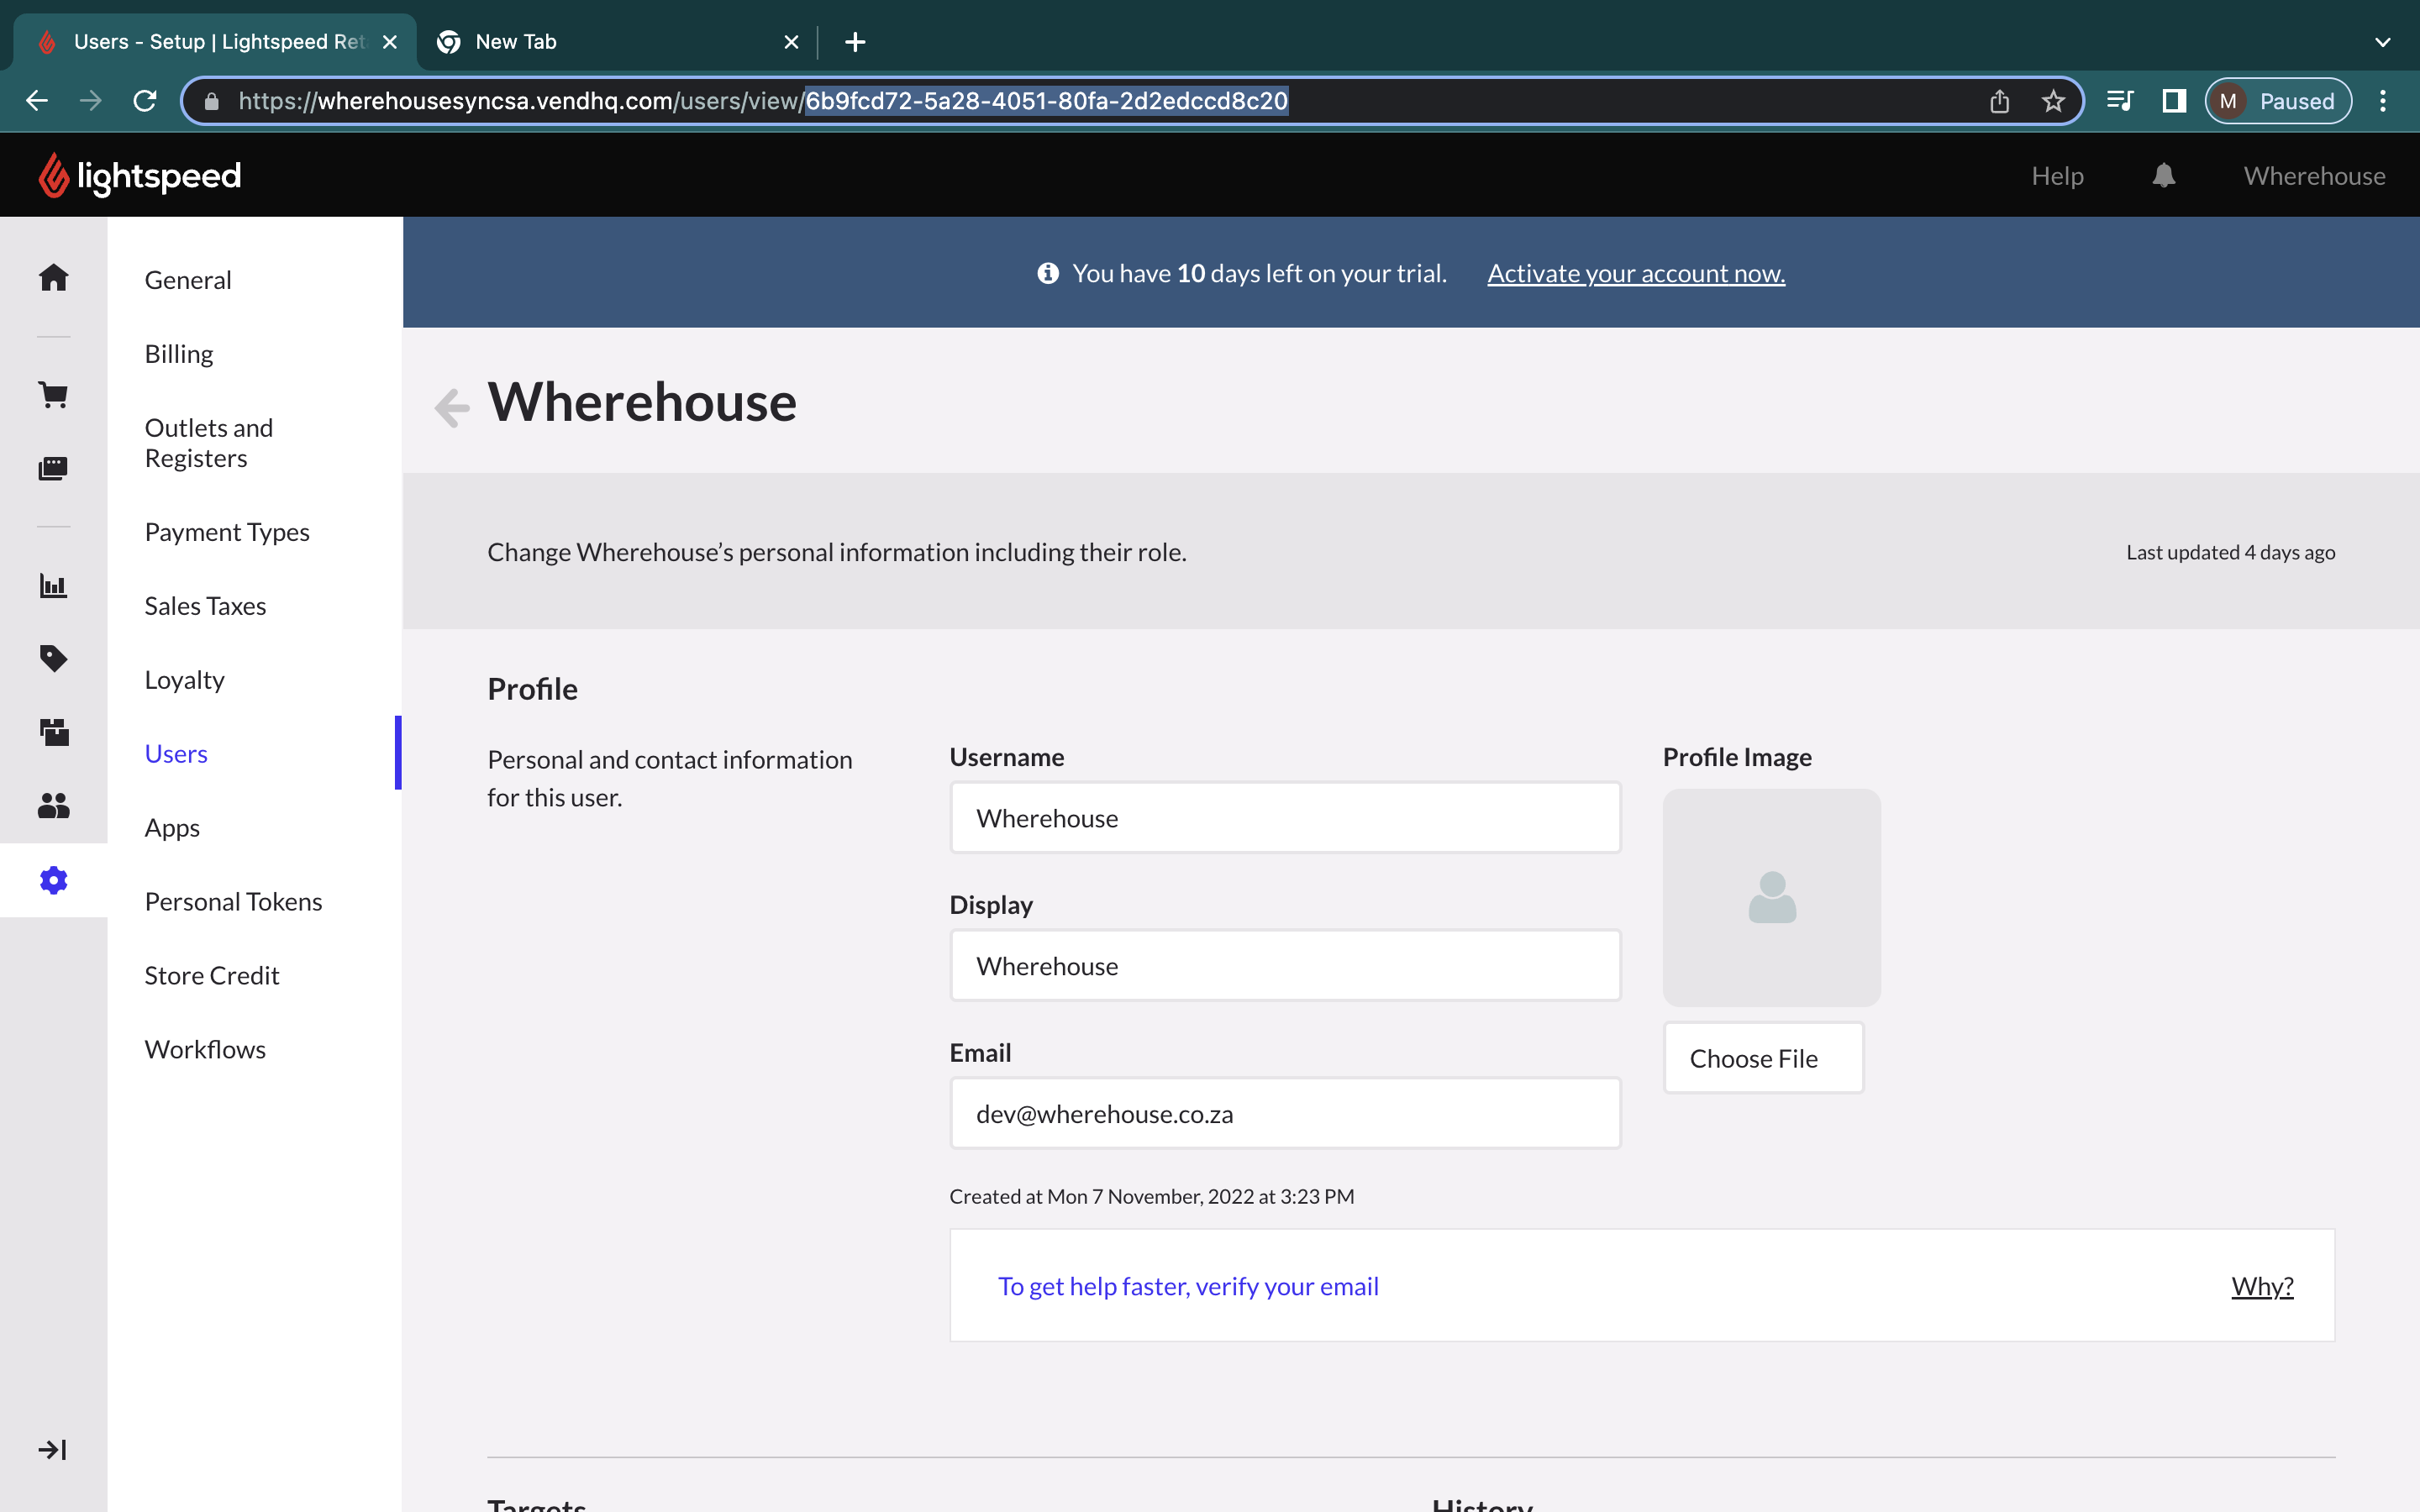

6️⃣ Click on the User profile you created for Wherehouse.
7️⃣ To find the
User ID click the URL bar in your browser.Your browser needs to be open on the user profile that you just created
8️⃣ Copy the code that follows after
view/Be sure to copy the whole code
9️⃣ Paste it into the required field on the Wherehouse dashboard.
An additional step for Order connectors… 🔎
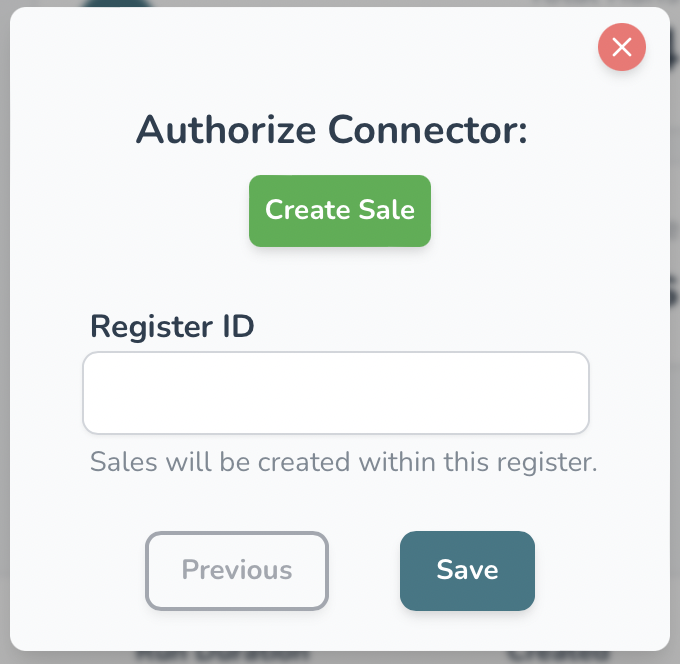
Next the modal is going to ask for the
Register ID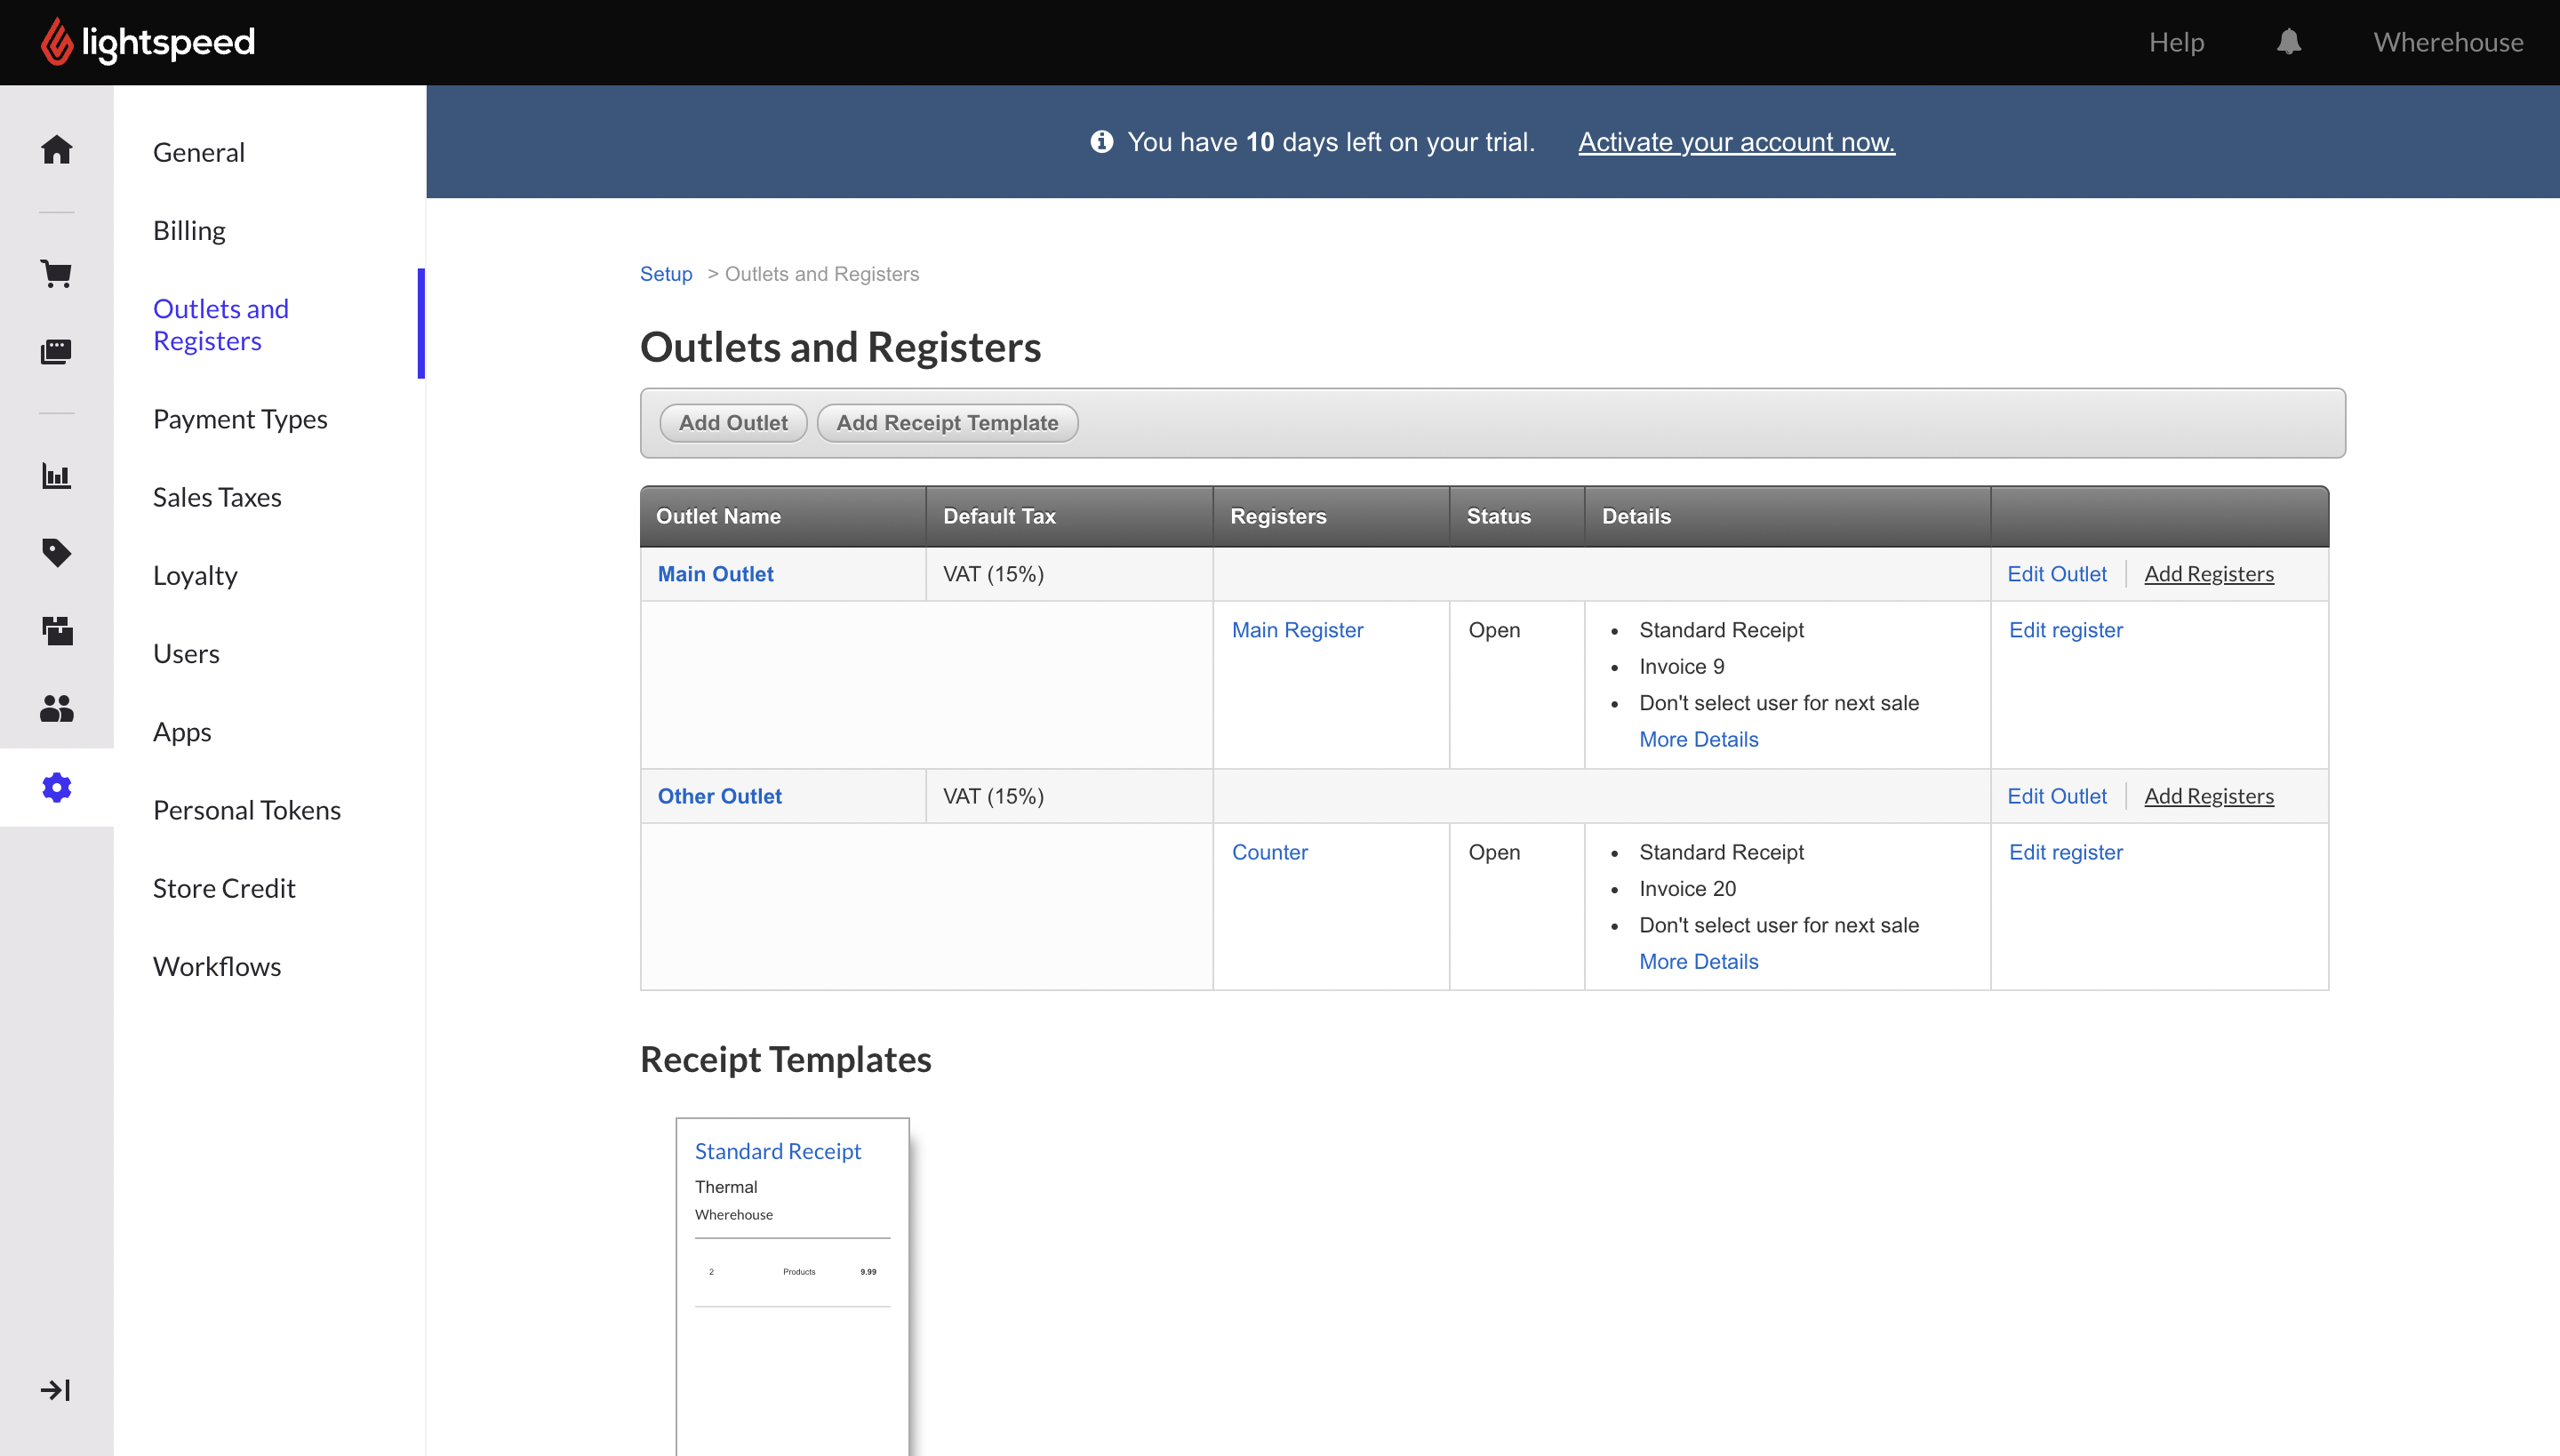
1️⃣ In the settings tab select Outlets and Registers.
2️⃣ Select the register that you would like Wherehouse to create the orders in.
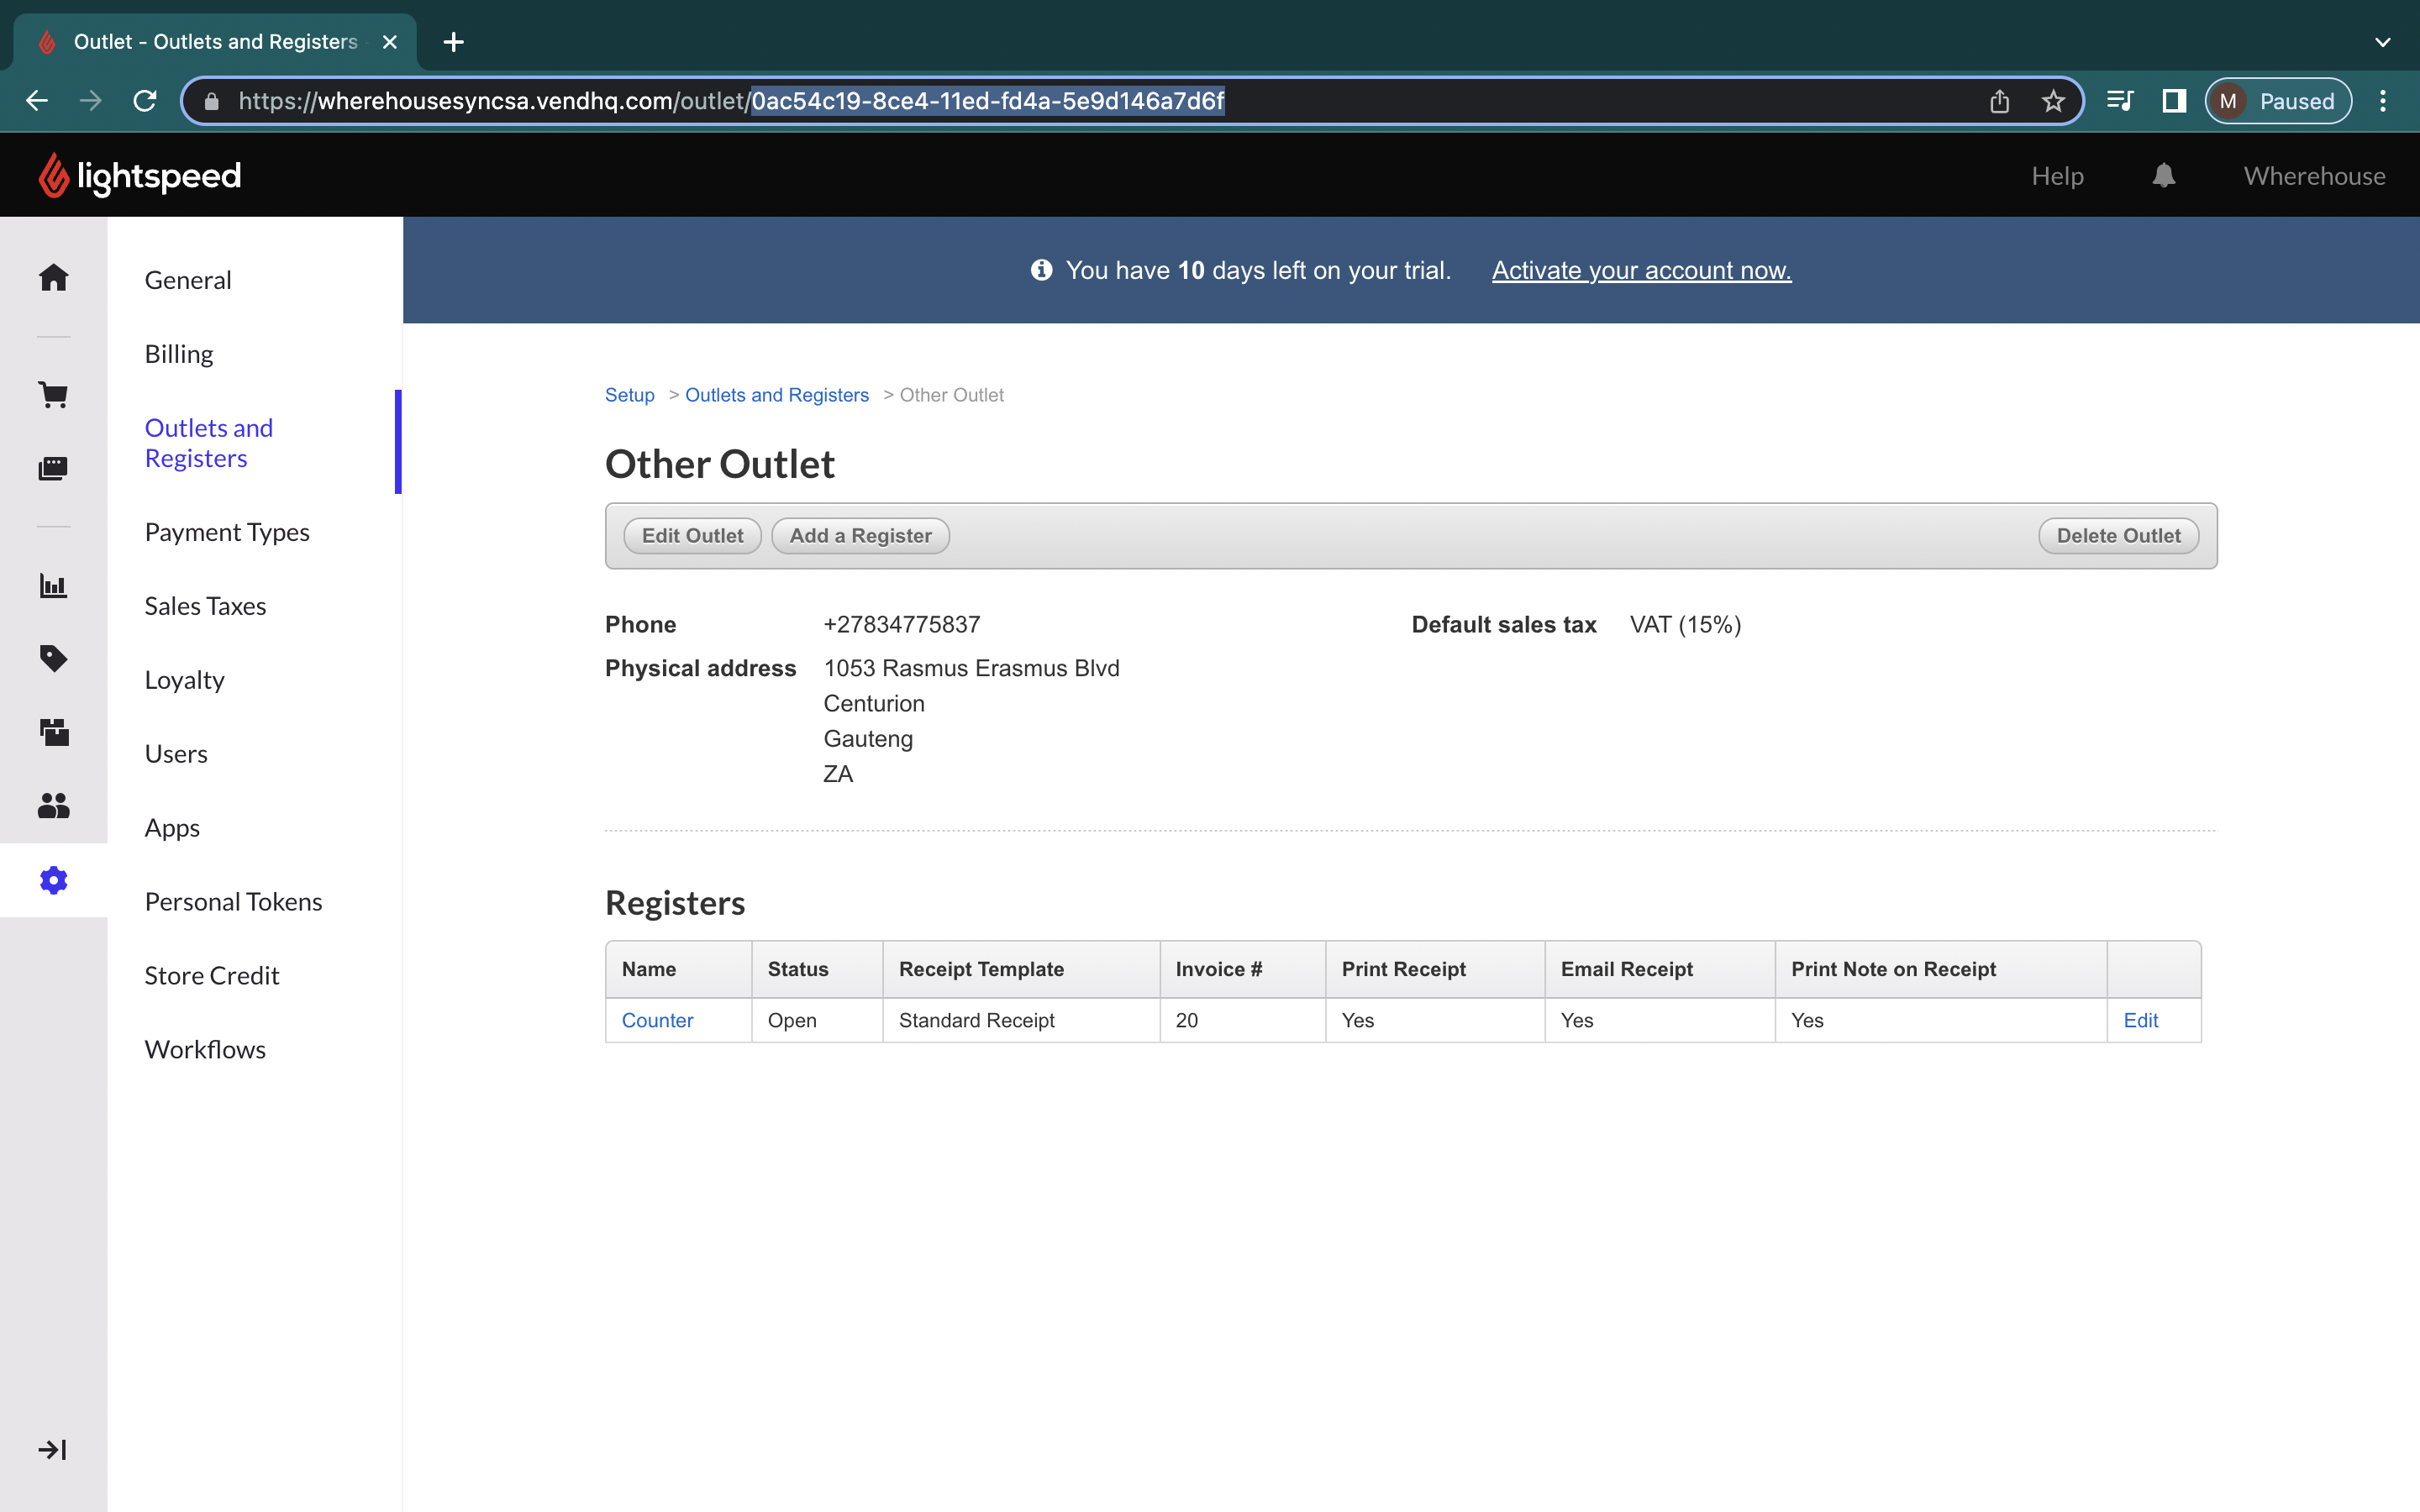

3️⃣ To find the
Register ID click the URL bar in your browserYour browser needs to be open on the register that you just selected.
4️⃣ Copy the code that follows after
outlet/5️⃣ Paste it into the required field on the Wherehouse dashboard.
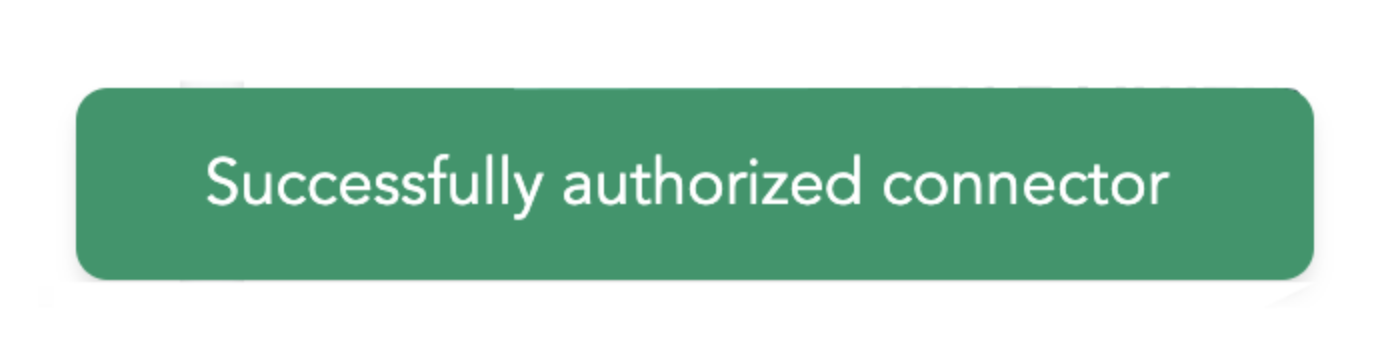
6️⃣ Hit save and if all went well you should see “Successfully authorized connector”.